Custom notification templates
Custom notification templates
Are you looking for a way to increase customer engagement? Well, sometimes you need to take a more personal approach in order to make them feel special. One way is to send personalized messages that are tailored to their specific needs and interests with the help of our Custom notification templates.
Now, you can create multiple custom templates for your customers and use them for different industries, groups of clients or occasions. To create templates go to Settings - Notifications (access to Settings has to be enabled for your user).
Please note, “Settings” menu is only available in the browser.
Use Setup Template tab to create the time frame for notifications to be sent, choose default templates for different events and switch on/off the pop up reminders for them.
To change the time of sending the notification click on the pencil icon next to the time picker, select the needed time frame and click Save. If you try to send a notification outside of this time frame, the system will give you an option to either send it the next day or send it right away.
Please note, that we will use your company’s timezone for this setting.
If you are using different industries, you will be able to modify template settings for each of them separately by clicking on the one you want to edit in the settings below.
You will see 4 types of notifications for each industry:
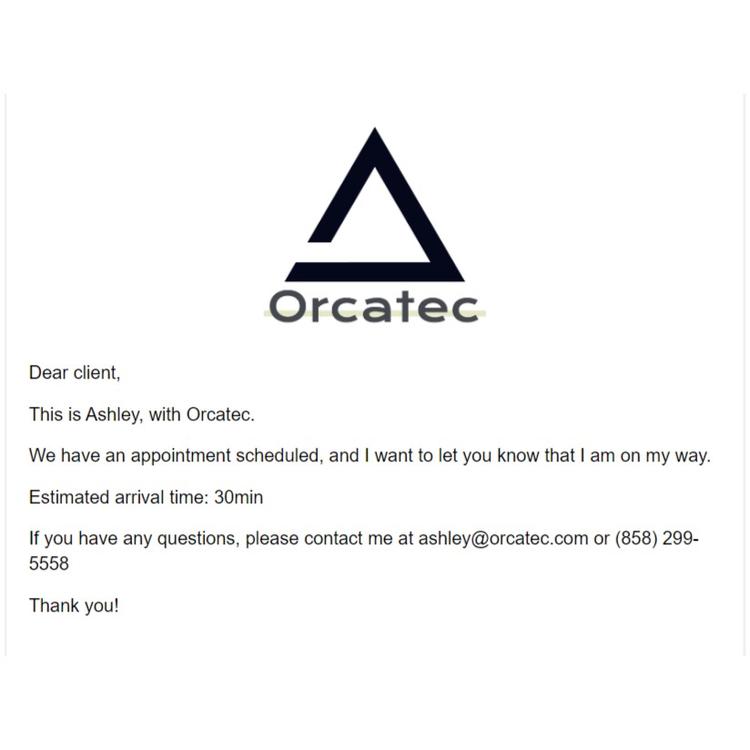
Upcoming Appointment, En Route and Appointment Reminder notifications to notify your client of status changes for your appointments and Project notifications to send the projects to your clients.
You can see a brief description of each notification type by clicking on the info icon near it.
You can enable or disable the pop up reminders for any type of notifications.
To choose a default template for any type of event, click on the pencil icon and select a needed template from a dropdown and click Save.
You can also determine when the appointment reminder will be sent to your client by clicking on the pencil icon and choosing a needed timespan.
You can create and edit your own templates in Templates tab.
To create a template, click Add new template button. A modal window will open, where you can insert and edit all the necessary information.
Please note, all fields marked with (*) are mandatory!
You can type in the name of the template and choose which type of event it will be assigned to: Appointment, Project or General. General templates can be used for any type of event.
You can use preset data tags when creating a template.
To add them, click on the tag you want to use and drag it to the place where you would like to insert it. The data tags allowed for this field will be highlighted.
Please note, that you can delete a data tag from the text completely, but you should NOT edit the tag itself, otherwise it will be displayed incorrectly!
You can modify and save text messages templates in SMS tab the same way.
To save the changes in the created template, press the Update button. To save it without changes, press Close.
To edit the existing template, press on the pencil icon, modify the template and click Update button at the end.
You can view how your client sees the notification message by clicking on the Preview icon.
You will see the preview of the notification in a pop up window.
Other Articles
Getting Started with Orcatec: Complete Onboarding Guide for Contractors and Subcontractors
A step-by-step onboarding guide to help you set up your Orcatec account, create projects, link contacts and properties, manage payment schedules, and generate invoices — everything you need to get started smoothly.
9 min read Nov 13, 2025
How to Schedule Multiple Visits at Once
Scheduling is now easier! You can create multiple visits as a group within projects, work orders, and on dispatch, saving you time and effort.
5 min read Oct 09, 2024
Share job details via public links
Make collaboration and communication easier by sharing job details via public links, ultimately leading to more efficient project delivery and better outcomes for everyone involved.
8 min read Feb 27, 2024
4.95 from 5 based on 17 reviews
Get our latest news

