• Home

  • Get Paid & Expenses

    Commissions Management

    QuickBooks Integration

    Consumer Financing

    Expenses Tracking

    Contractor Payroll

    Card Reader

    Payment

    Job Management

    Work Order Management

    Field Service CRM

    Job Management

    Employee Time Tracking

    Job Costing

    Recurring Jobs

    Supplies order

    Job Tracking

    Equipment tracking

    Complete Job & Invoice

    Sales Proposal Tool

    Invoicing

    Estimates

    Quoting

    Mobile App

    Review Management

    Price pages

    Accounting

    Scheduling & Dispatching

    Employee GPS Tracking

    Scheduling Software

    Route Optimization

    Field Service App

    Call Recording

    Dispatching

    Business Solutions

    Automated Direct Mail

    Advanced Reporting

    Home Services Marketing

    Text Messaging

    Voice Solutions

    See all Features
  • Industries

    HVAC

    Plumbing

    Construction

    Appliance Repair

    Electrician

    Garage Door

    Handyman

    Home Cleaning

    Carpet Cleaning

    Painting

    Window Cleaning

    Locksmith

    Property Maintenance

    Junk Removal

    Fire Safety

    See all Industries
  • Resources

    Blog

    Stay informed and inspired with our engaging blog, featuring industry insights and expert tips

    Tutorial

    Step-by-step tutorials: Creating, editing, and scheduling on the site. Our tutorials will help you understand how to create projects, grasp the meanings of various statuses, and efficiently schedule meetings

    image
  • Company

    Contact Us

    Orcatec is your all-in-one home services management software designed to save you time, money, and boost productivity. It organizes all your tasks, synchronizes the work of your team, technicians, and clients.

    About Us

    Get in touch with our team anytime! We are here to answer any question may you have.

    image
  • Features

    • Scheduling Software
    • Estimates
    • Dispatching
    • Invoicing
    • Sales Proposal Tool
    • Field Service Management
    • Employee GPS Tracking
  • Industries

    • HVAC
    • Plumbing
    • Construction
    • Appliance Repair
    • Electrician
    • View All
  • Resources

    • Blog
    • Tutorial
  • Company

    • Contact us
    • About us
    • Privacy Policy
16950 Via de Santa Fe Suite 5060-136
Rancho Santa Fe, CA 92091
Copyright © 2025
Terms of usePrivacy Policy
  • Home
  • Features

      Get Paid & Expenses

      • Commissions Management
      • QuickBooks Integration
      • Consumer Financing
      • Expenses Tracking
      • Contractor Payroll
      • Card Reader
      • Payment

      Job Management

      • Work Order Management
      • Field Service CRM
      • Job Management
      • Employee Time Tracking
      • Job Costing
      • Recurring Jobs
      • Supplies order
      • Job Tracking
      • Equipment tracking

      Complete Job & Invoice

      • Sales Proposal Tool
      • Invoicing
      • Estimates
      • Quoting
      • Mobile App
      • Review Management
      • Price pages
      • Accounting

      Scheduling & Dispatching

      • Employee GPS Tracking
      • Scheduling Software
      • Route Optimization
      • Field Service App
      • Call Recording
      • Dispatching

      Business Solutions

      • Automated Direct Mail
      • Advanced Reporting
      • Home Services Marketing
      • Text Messaging
      • Voice Solutions
  • Industries

    • HVAC
    • Plumbing
    • Construction
    • Appliance Repair
    • Electrician
    • Garage Door
    • Handyman
    • Home Cleaning
    • Carpet Cleaning
    • Painting
    • Window Cleaning
    • Locksmith
    • Property Maintenance
    • Junk Removal
    • Fire Safety
  • Resources

    • Blog
    • Tutorial
  • Company

    • Contact Us
    • About Us
  • Tutorial
  • Getting-started-creating-new-user
Adding new user tutorial

Getting Started - Adding Users

Jun 05, 2023

Company Setup “Add New User” 


To add a new user to your company go to Settings - Users (access to Settings has to be enabled for your user).

Please note, Settings menu is only available in the browser.


Click the Add New User button.


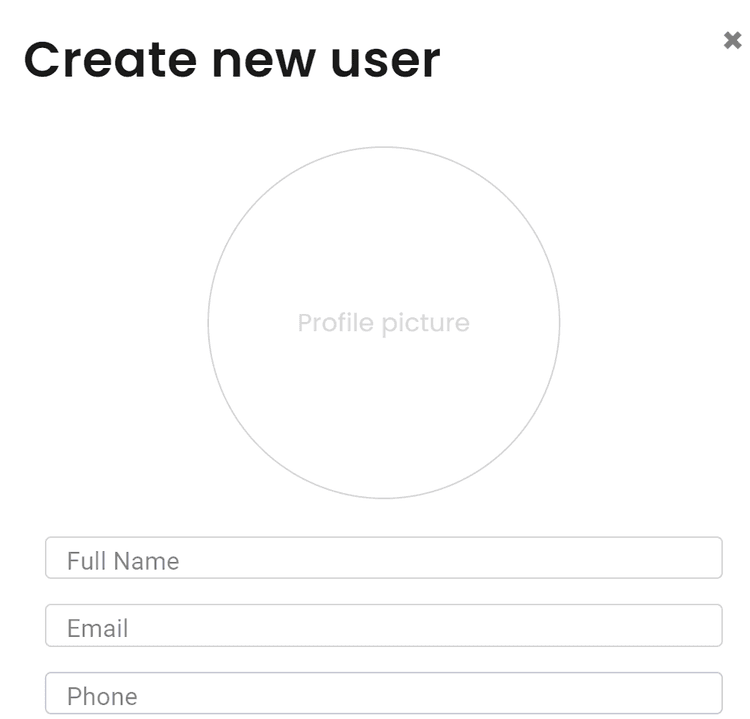
Once you press the Add New User button, a new page will open where you can fill in all the information for a new user. Please note, fields marked with * are required!


You can attach the user's profile image which will be displayed on the appointment schedule by clicking Upload. Profile image is not required (user will be able to add this at a later time).


You will need to input user's Full Name, Email, and Phone Number (will be displayed on proposals). Please use a valid email as the invite link for the user will be sent to this email address.


Assign a Title to the user and set the Project Identifier which will be used as the first letters for the project number (you can also leave the automatically generated one). Please note, Project Identifier has to be unique and can’t be changed later!  One of the options is to use the user's initials.


You can also add financial details for this user, such as Labor rate, Commission amount, and Commission Type.


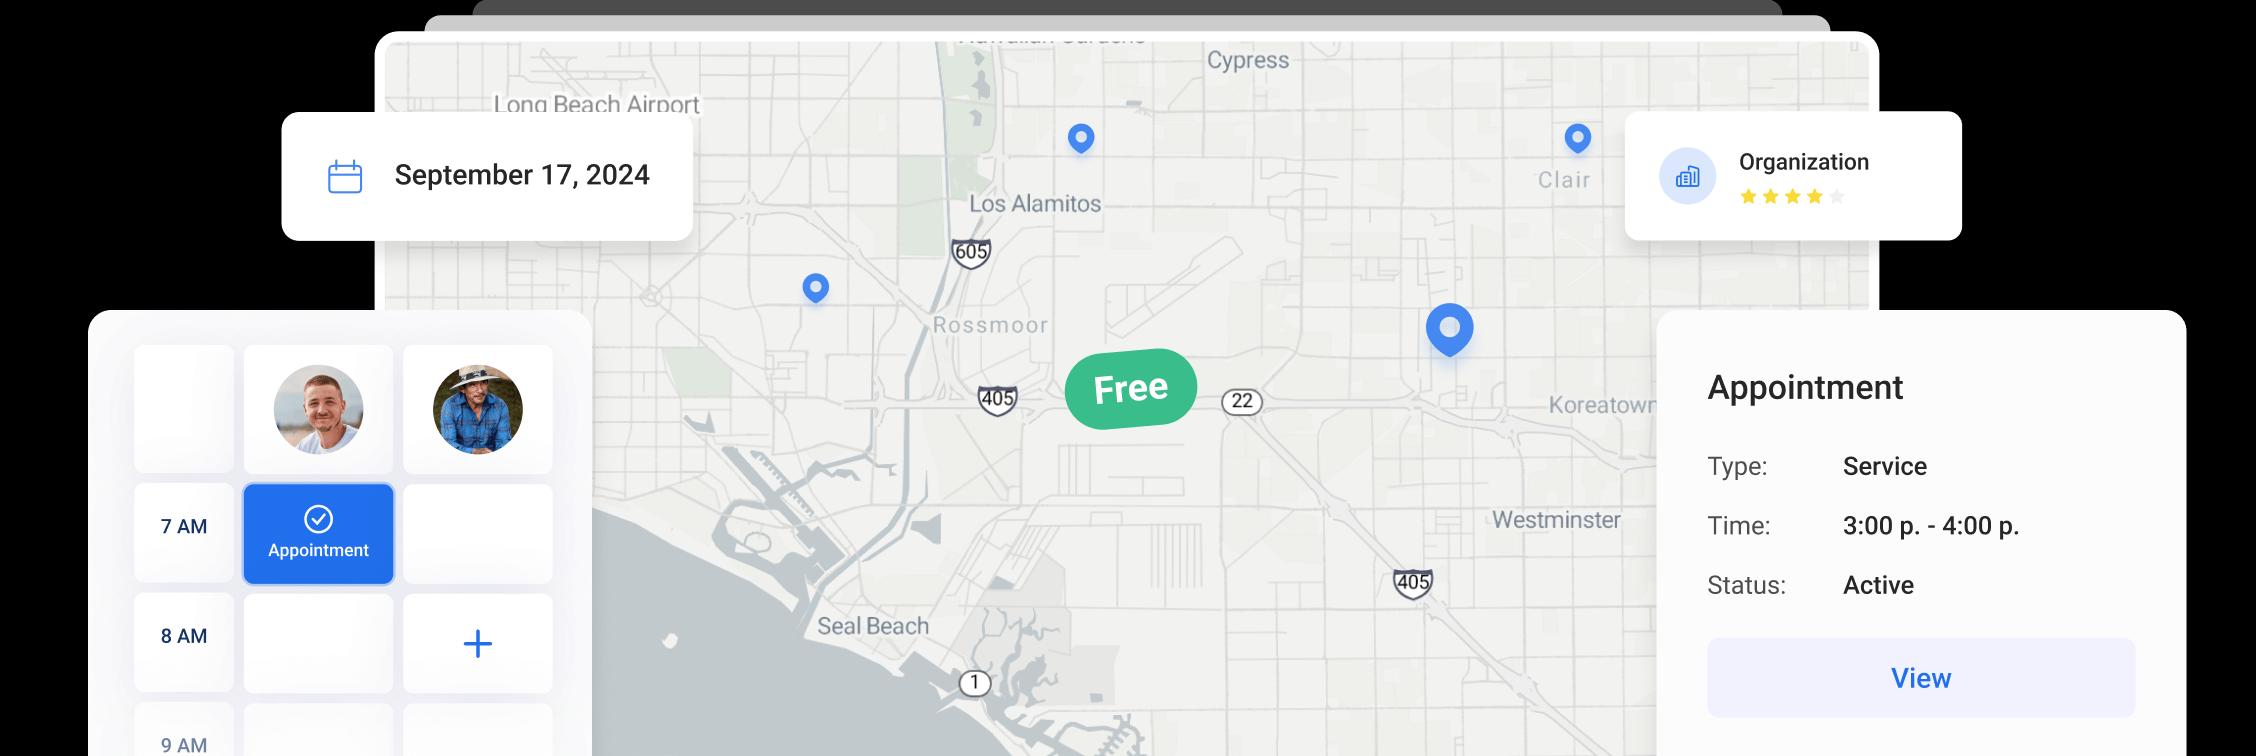
Set user’s Day Start Location which will be used for maps and route optimization to determine the start of the day route. If the user starts the day from the office, leave the Company Office Address checked, otherwise, enter user's home address or other start location and select the address from the dropdown list.


Click Next to go to Permissions tab and assign a role for the user based on the access you would like them to have. 

Options include: Admin, Dispatch, Tech, Worker, and Accountant. Different permissions are enabled for each individual role and can be added and removed as needed. You can get more information on each role by clicking on the info icon.


You can choose if you want to display this user on the dispatch board or create a new column for him automatically.

Use the Clock-in with GPS setting if you want the user's GPS location tracking to be mandatory when clocking in. User will only be able to clock in via mobile app with location share enabled.


You can also set specific permissions for project access for this user.


Here you can enable and disable Modules available for the user.


To finalize the addition of the user click Create. A welcome email will be sent to the newly created user with an email confirmation link.


The recently added user’s account will be “Pending” until user confirms the email. Please note, the invite link is only valid for 30 min. If the user did not accept the invite within 30 min, you will need to Generate New Invite Link and send it to the user again.


Once the email is confirmed the user status turns to active. You can change user status to inactive. Inactive users will not have access to their accounts.


You can also edit the user's information or deactivate the users by clicking on the corresponding icons in Settings - Users.


Other Articles

How to Schedule Multiple Visits at Once

Scheduling is now easier! You can create multiple visits as a group within projects, work orders, and on dispatch, saving you time and effort.

8 min read Oct 09, 2024

Share job details via public links

Make collaboration and communication easier by sharing job details via public links, ultimately leading to more efficient project delivery and better outcomes for everyone involved.


6 min read Feb 27, 2024

Custom forms

Make managing data more flexible and efficient for you. Design and set up your own custom forms to collect and manage information efficiently.


6 min read Jan 18, 2024

article-data

All-In-One Home Services Management Software

instagramfacebook

4.95 from 5 based on 17 reviews

Get our latest news

image