Getting Started with Orcatec: Complete Onboarding Guide for Contractors and Subcontractors
Getting Started
This guide will help you set up your Orcatec account and get familiar with the essential features. Follow these steps to customize your account and start creating projects, generating invoices, and managing your team.
Account Registration
Initial Login
-
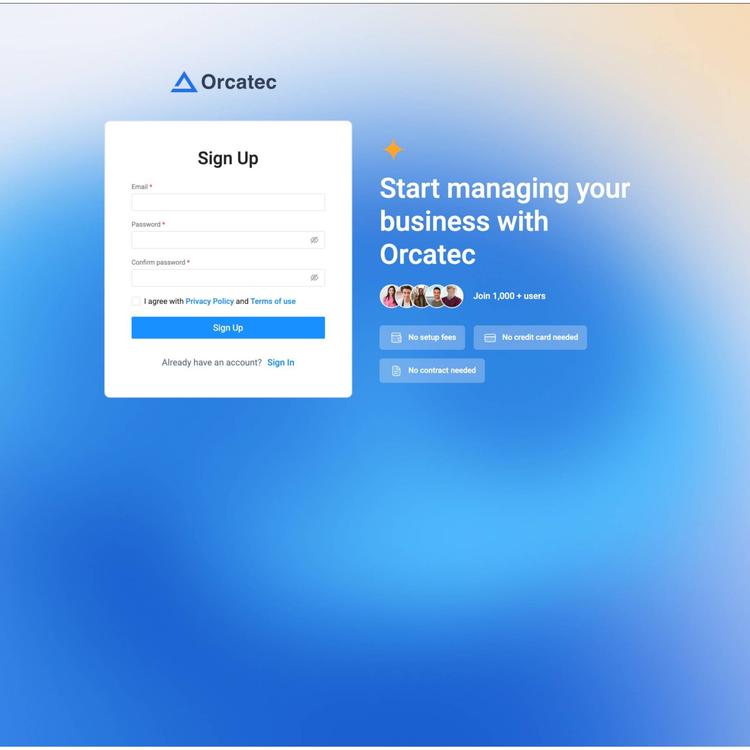
Navigate to Orcatec sign up page - Sign Up!
-
Enter your email address and password to create an account

Important: Keep your login credentials secure. Orcatec handles sensitive customer and financial data.
Profile Setup and Customization
-
Go to Settings → Company Info and Complete your profile information
-
Locate the Company Logo section and select Upload to add your logo file
-
Company name
-
Business address and contact information
-
Time zone and service area
-
Terms & Conditions file

Logo Best Practices:
-
Use a transparent background (PNG format) for best results
-
Ensure your logo is high resolution for print quality invoices
-
Keep aspect ratio square or horizontal for optimal display
-
Test how it looks on both invoices and the dashboard
Creating a New Project
Purpose: Every invoice, estimate, or contract in Orcatec must be linked to a project. This section guides you through creating one
-
From the main dashboard, click Projects → + Add Project
-
Assign the project to a User or Team
-
Optionally select Lead Source and Project Type
-
Click Create

Adding Legal Language and Scope
-
Each subcontractor must include approved legal language in contracts and estimates ( We’ll set up a prebuilt template in your account that includes all required legal language )
-
Use the Description, Add Item section to include scope of work and attachments ( Example: Contract PDF )

Attach Contacts and Property to a Project
Purpose: Linking a customer and property to a project helps ensure accurate communication, billing, and record-keeping, though projects can also be created without this information
-
From the project view, click Add Contact
-
Once the contact is added, click Add Property to connect the project to a specific address
-
Verify both to ensure the project is fully linked and ready for estimates, invoices


Setting Up a Payment Schedule
Purpose: The payment schedule allows you to define how the total project balance will be divided into milestones and track payment statuses
-
Scroll down through the created project to the Payment Schedule section
-
Click the Edit button
-
A pop-up window will appear showing the Total Balance.
-
Add new balances to split the total into payment milestones (for example, deposit, progress payments, and final payment)
-
Update payment statuses as needed - such as Due, Overdue, or Paid
-
Add any internal payment notes for record-keeping or team reference
-
Click Save to confirm and apply your changes

Generating Invoices
Purpose: Once all required project details and the payment schedule are completed, you can generate invoices directly from the project for easy billing and tracking
-
Go to Projects → + Add Project / Choose Existing Project → Payment Schedule (Click Edit) → Generate Invoice
-
Make sure the project status is set to “Contract.” Invoices cannot be created while the project is still in Estimate status

-
After completing all required project information and the Payment Schedule section, click Edit again in the Payment Schedule area
-
In the pop-up window, under the Payment Description field, click Generate Invoice to create your invoice

-
A clickable invoice link will appear in the same section, displaying who created it and when

-
Click the invoice link to open it in a new tab
-
Review and make any necessary adjustments before finalizing
-
Preview and send your invoice directly from the system once everything looks correct

Invoice Preview Elements
Required Elements:
-
Invoice number (auto-generated)
-
Date and due date
-
Customer information
-
Service details and pricing
-
Total amount and tax
Optional Elements:
-
Technician details
-
Description only
-
Payment summary
-
Payment processing fee

Important Note:
All of the information and steps outlined above are essential for setting up your Orcatec account correctly and ensuring your long-term success with the platform. Completing these initial sections - project creation, contact and property setup, payment scheduling, and invoice generation - builds the foundation for smooth operations and accurate reporting.
Additional information and features that follow in this onboarding document are optional and can be implemented later to further customize and enhance your workflow.
Customizing Headers ( Optional )
Your header appears on invoices, estimates, and customer communications
-
Navigate to Settings → Project → Default Project Settings → Project Header Setup
-
Choose your preferred header layout (logo left, center, or right)
-
Add custom header text or tagline
-
Select brand colors for headers and accents
-
Preview how headers appear on different document types
-
Save your changes

Managing Project Statuses ( Optional )
Default Status Workflow
Orcatec includes pre-configured statuses that track your project lifecycle:
Estimate
Estimate prepared and awaiting customer approval
Contract
Contract created and pending customer approval or signature
Completed
Project completed successfully and ready for invoicing
Cancelled
Project cancelled and no further action required
Cold
Lead inactive or no response from client

Changing Project Status ( Optional )
-
Open the project from your dashboard
-
Click the current status dropdown at the top of the project details
-
Select the new status from the list
-
The status will update automatically
-
Status changes are logged in the project history

Creating Custom Statuses ( Optional )
-
Go to Settings → Project → Statuses
-
Click "Create Status"
-
Enter status name (e.g., "Accepted", "Requires Follow-up")
-
Choose a color code for easy identification
-
Set the status position in your workflow
-
Save and the new status will be available for all projects
Section 6

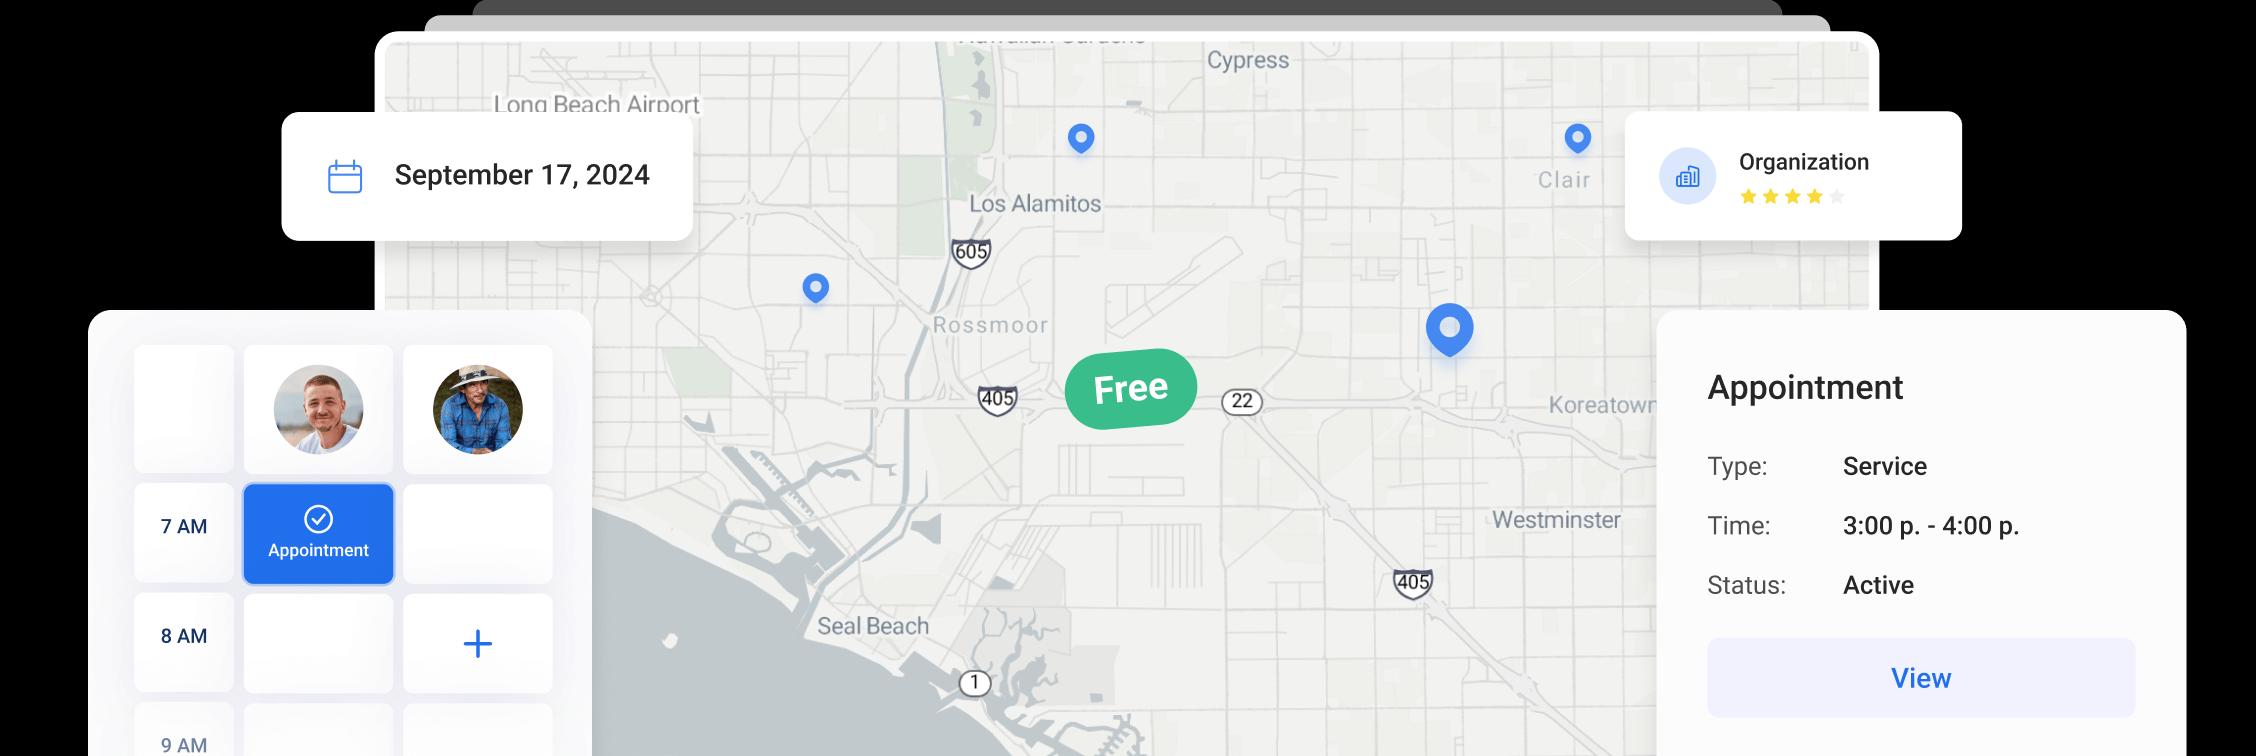
Scheduling & Dispatching ( Optional )
This section is optional for subcontractors who do not manage their own field technicians:
-
Access the calendar from the main navigation menu
-
Switch between Day, Week, or List view using the toggle buttons
-
Color-coded appointments show different technicians or service types
-
Click any time slot to create a new appointment
-
Filter by technician, service type, or status

Quick Scheduling Tips:
-
Use the route optimization feature to minimize travel time
-
Set buffer time between appointments for unexpected delays
-
Enable customer notifications for appointment reminders
-
Block off vacation and unavailable times
Templates and Legal Setup
-
Company admins will pre-load standard templates into your account
-
Subcontractors must use these templates for all new documents
-
Edit only the content (scope, pricing, dates) - keep layout and legal sections unchanged.
Getting Help & Support
Support Resources
📚 Knowledge Base
Access detailed articles and video tutorials at:
💬 Live Chat
Click the chat icon in the bottom right corner of your dashboard for instant help
📧 Email Support
Send detailed questions to:
eugene@orcatec.com
📞 Phone Support
Business hours: Mon-Fri 7am-6pm PT
(858)360-5055
Training & Webinars
Orcatec offers regular training sessions to help you master the platform:
-
Weekly "Getting Started" webinars for new users
-
Monthly advanced feature training sessions
-
On-demand video library in your dashboard
-
One-on-one onboarding calls (contact your account manager)
Remember: Your success is our priority. Don't hesitate to reach out with questions, feedback, or feature requests. We're here to help!
Other Articles
Getting Started with Orcatec: Complete Onboarding Guide for Contractors and Subcontractors
A step-by-step onboarding guide to help you set up your Orcatec account, create projects, link contacts and properties, manage payment schedules, and generate invoices — everything you need to get started smoothly.
8 min read Nov 13, 2025
How to Schedule Multiple Visits at Once
Scheduling is now easier! You can create multiple visits as a group within projects, work orders, and on dispatch, saving you time and effort.
6 min read Oct 09, 2024
Share job details via public links
Make collaboration and communication easier by sharing job details via public links, ultimately leading to more efficient project delivery and better outcomes for everyone involved.
4 min read Feb 27, 2024
All-In-One Home Services Management Software
4.95 from 5 based on 17 reviews
Get our latest news