Adding items to the project in the app
Once you create an estimate for your client, you will need to add the items, such as materials and scope of work to the estimate.
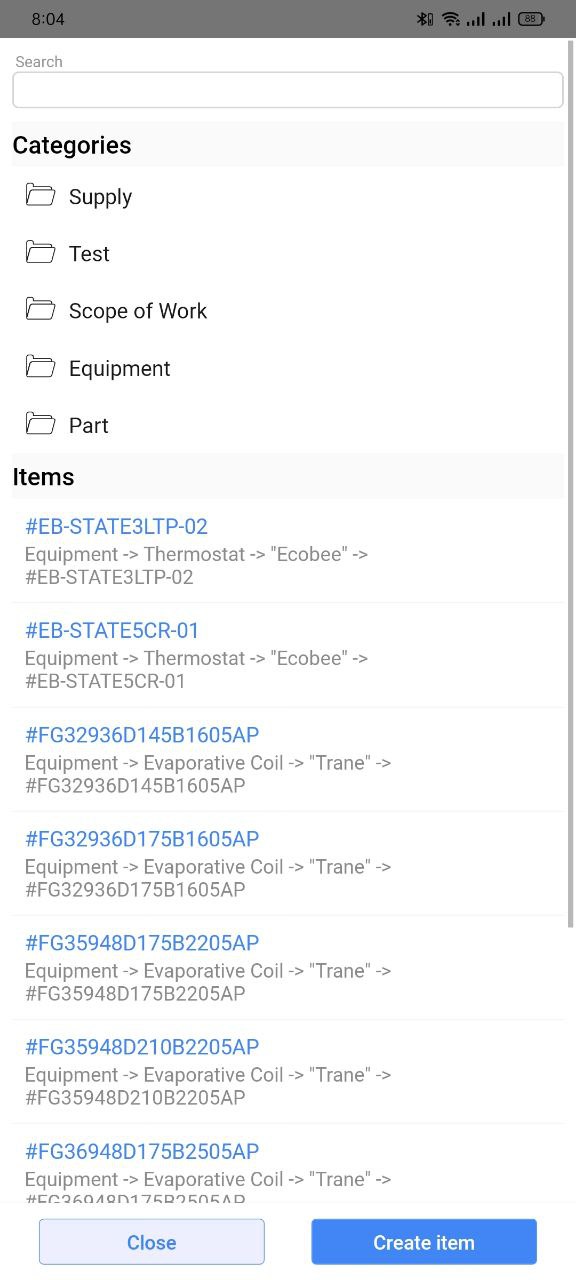
To add materials to it, click the Add material button and you will be able to select the required item from your price pages.

You can select the category or the item from the list.
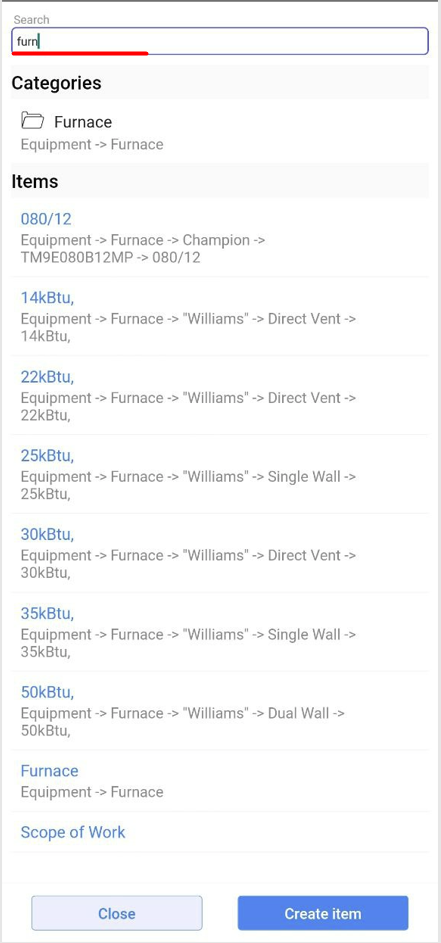
To find the required item faster, you can use the search field to search by category name or item name.
You can add multiple items at the same time by checking all the required items in the list. The checkboxes appear after a long tap.

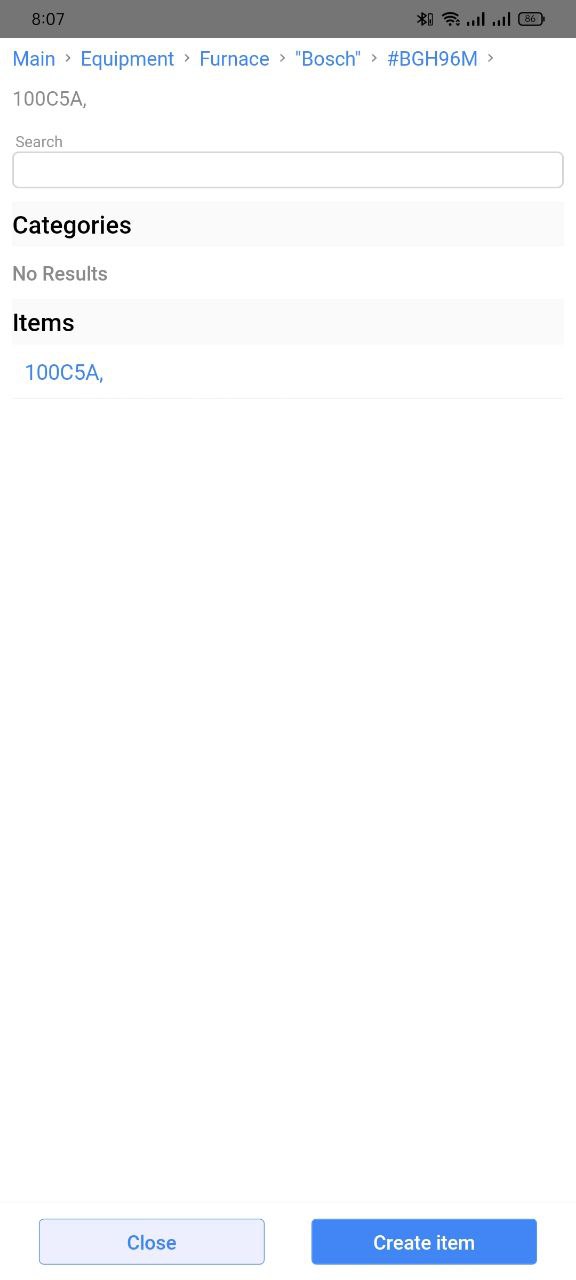
You can also find the required material by going through the categories.
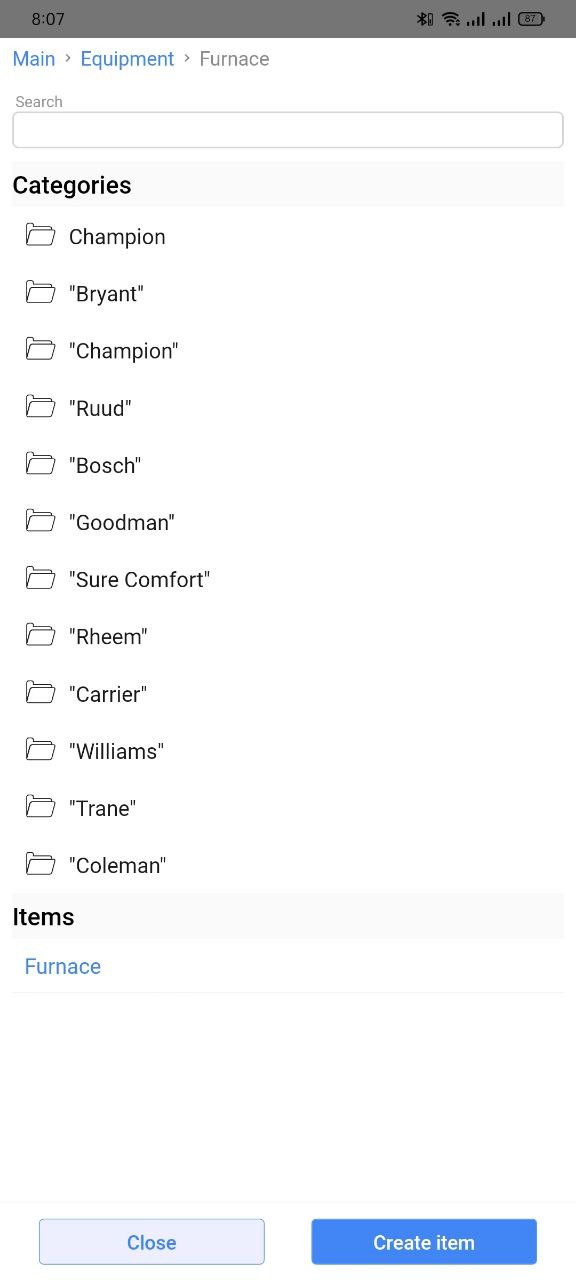
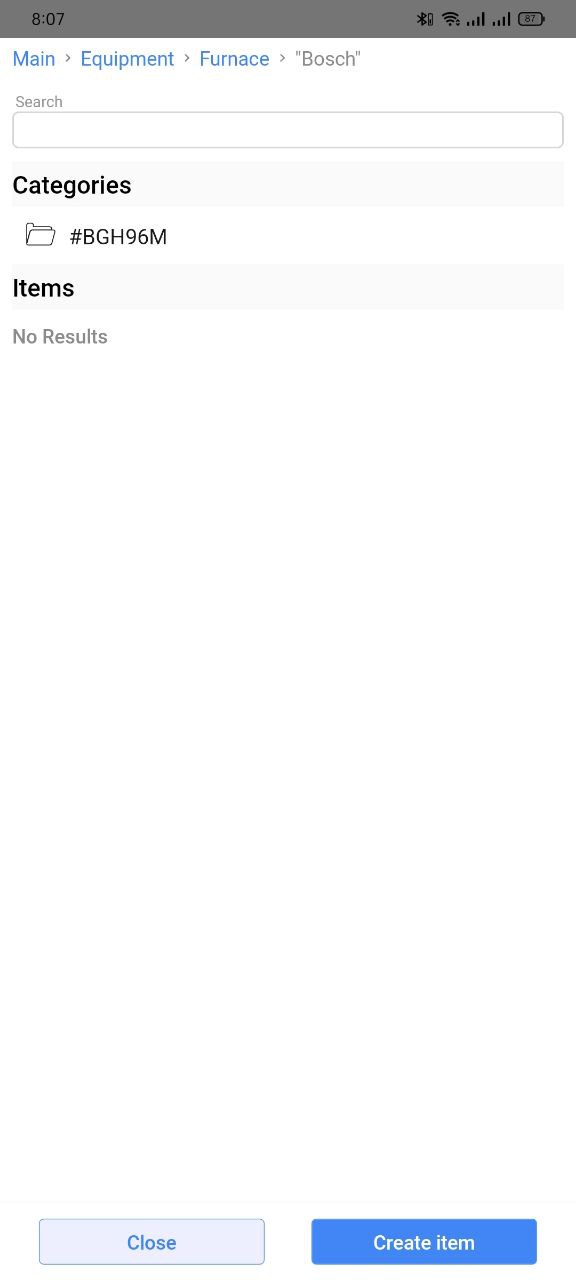
Click on the item name to add it to the estimate.
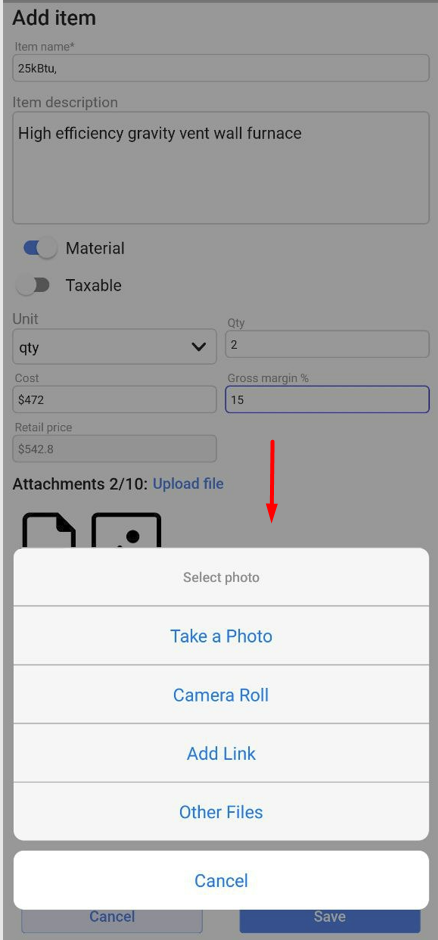
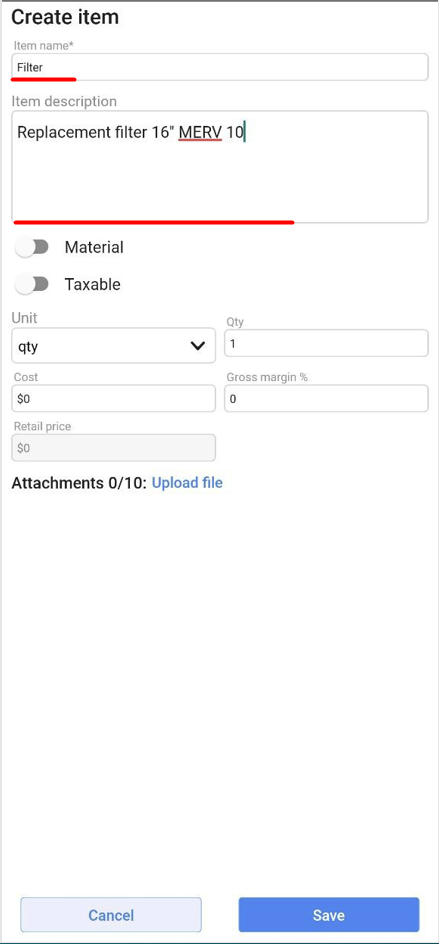
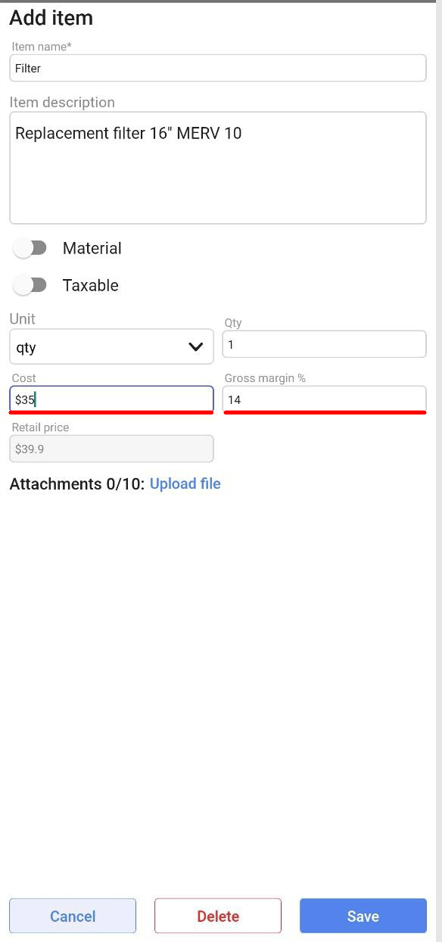
You can change the name and description of the item, cost, and gross margin and upload some attachments.
Please note that if you change any information on the item except for the quantity, the item will be considered custom!

To add the attachment, click the Upload file button and select a file from your gallery or your file manager, open the camera and take a photo, or add a link to the item.
By clicking on the three dots in the right top corner, you will open an action menu.
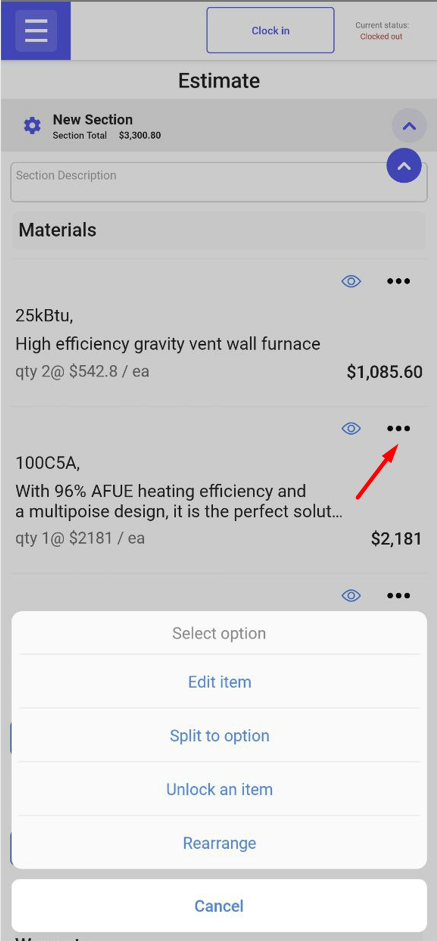
It allows you to:
-
Edit the item information

-
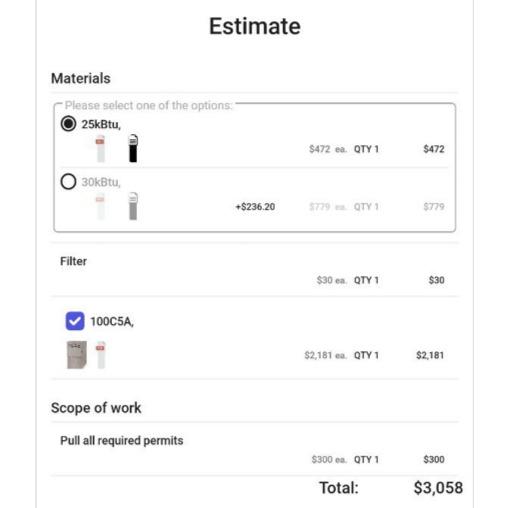
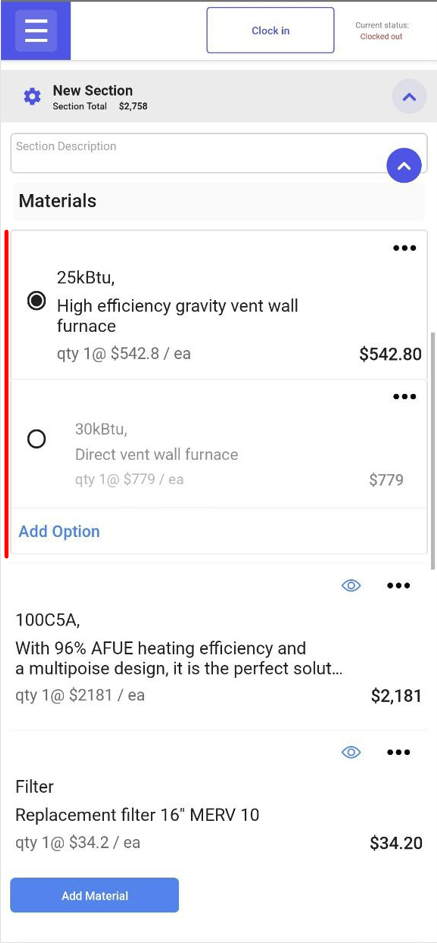
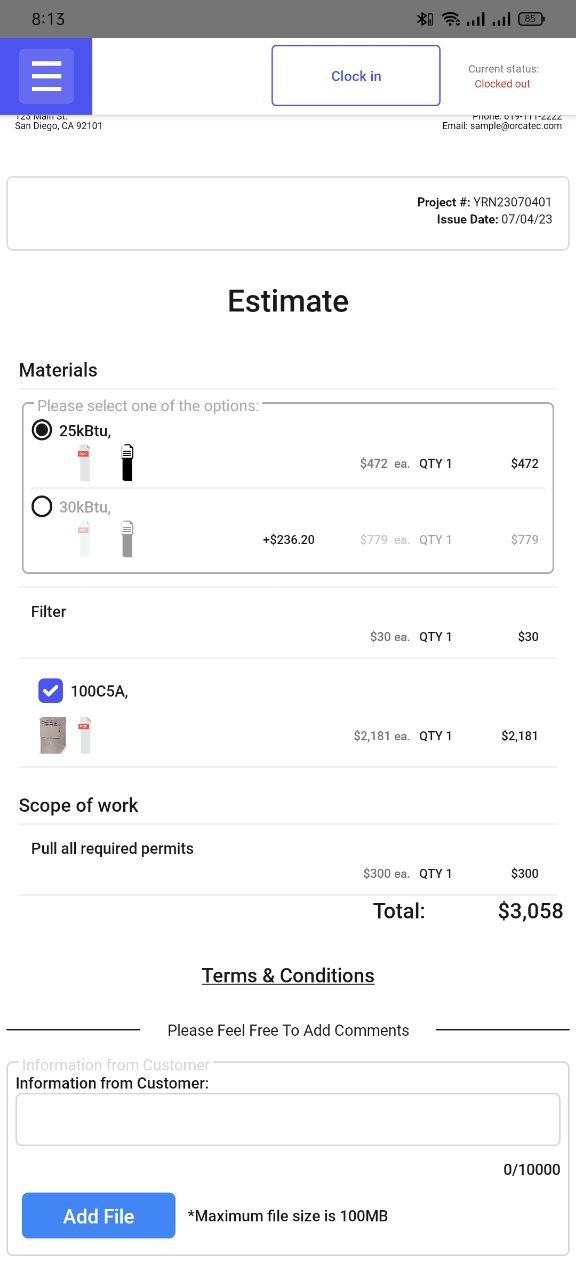
Split the item into options, which means that your client will be able to select one of the provided options and it will be displayed in the contract. You can click the Add option button to add another optional item to the field
-
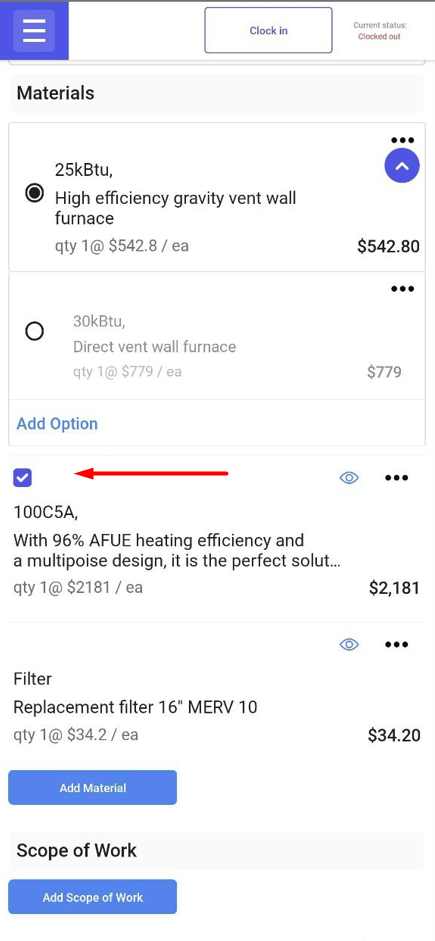
Unlock an item to give your clients the ability to include or exclude this item from the project by checking or unchecking it
-
Rearrange item order. To rearrange the items, click on Rearrange and use the up and down arrows to change the item's position in the list.

If you click the eye icon, it will turn red and you will see a warning that this item will be hidden on customer view.

To add your own item manually, click Create item button, insert the name and description, input the cost and gross margin, and upload attachments to the item if needed.

This is how your client will see your project!
Other Articles
The Dispatch Tab in Orcatec: A Complete Beginner's Guide
The Dispatch tab is where you turn a list of jobs into an actual day for your team: assign visits to technicians, see who's free, and keep the whole week in view. This guide walks a brand-new dispatcher through the Day and Week boards, creating appointments the quick way and the full way, the Appt Queue, and customizing your board.
5 min read Sep 09, 2026
The Projects Tab in Orcatec: A Complete Beginner's Guide
The Projects tab is the central workspace of your Orcatec account — where an estimate becomes a signed contract, gets worked on, and finally gets invoiced. This guide walks a brand-new user through statuses, Good/Better/Best pricing options, line items, discounts and taxes, and the client-facing Preview.
9 min read Sep 09, 2026
Getting Started with Orcatec: Complete Onboarding Guide for Contractors and Subcontractors
A step-by-step onboarding guide to help you set up your Orcatec account, create projects, link contacts and properties, manage payment schedules, and generate invoices — everything you need to get started smoothly.
7 min read Nov 13, 2025
All-In-One Home Services Management Software


4.95 from 5 based on 17 reviews
Get our latest news