Get Started for a Tech
Welcome to Orcatec!
This guide will help a general tech to get started using schedualing and invoicing.
Initial Set-Up
After you are added to the system by your admin, you will get an invite email:

Please click “Get Started” to go to password set-up screen:

After you set the password, you can go to orcatec.com and click “Sign In” in the top right corner.
You have the ability to use the system via Chrome browser on your computer or mobile device and also iOs or Android app by going to the app store and searching for Orcatec:
After downloading the app, enter your email and password that you set-up in the previous step.
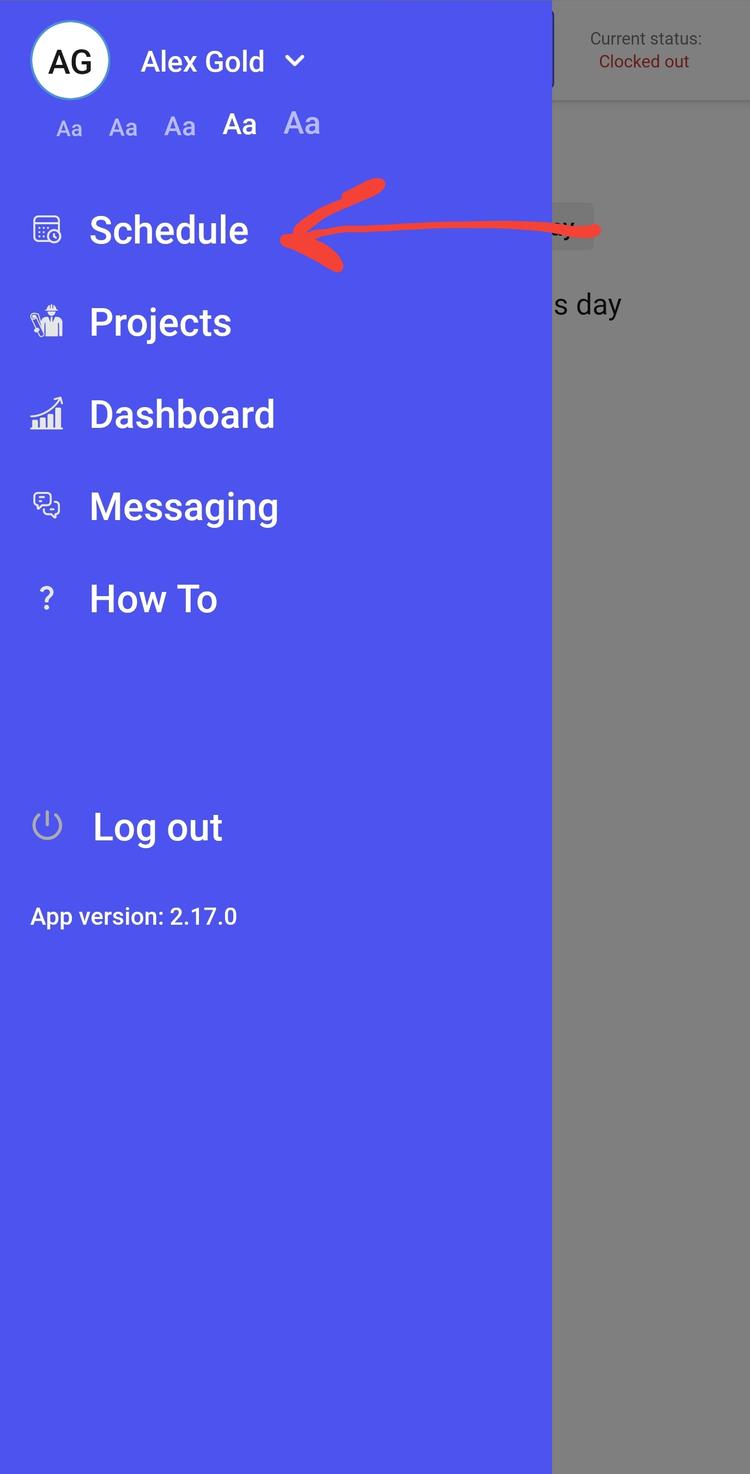
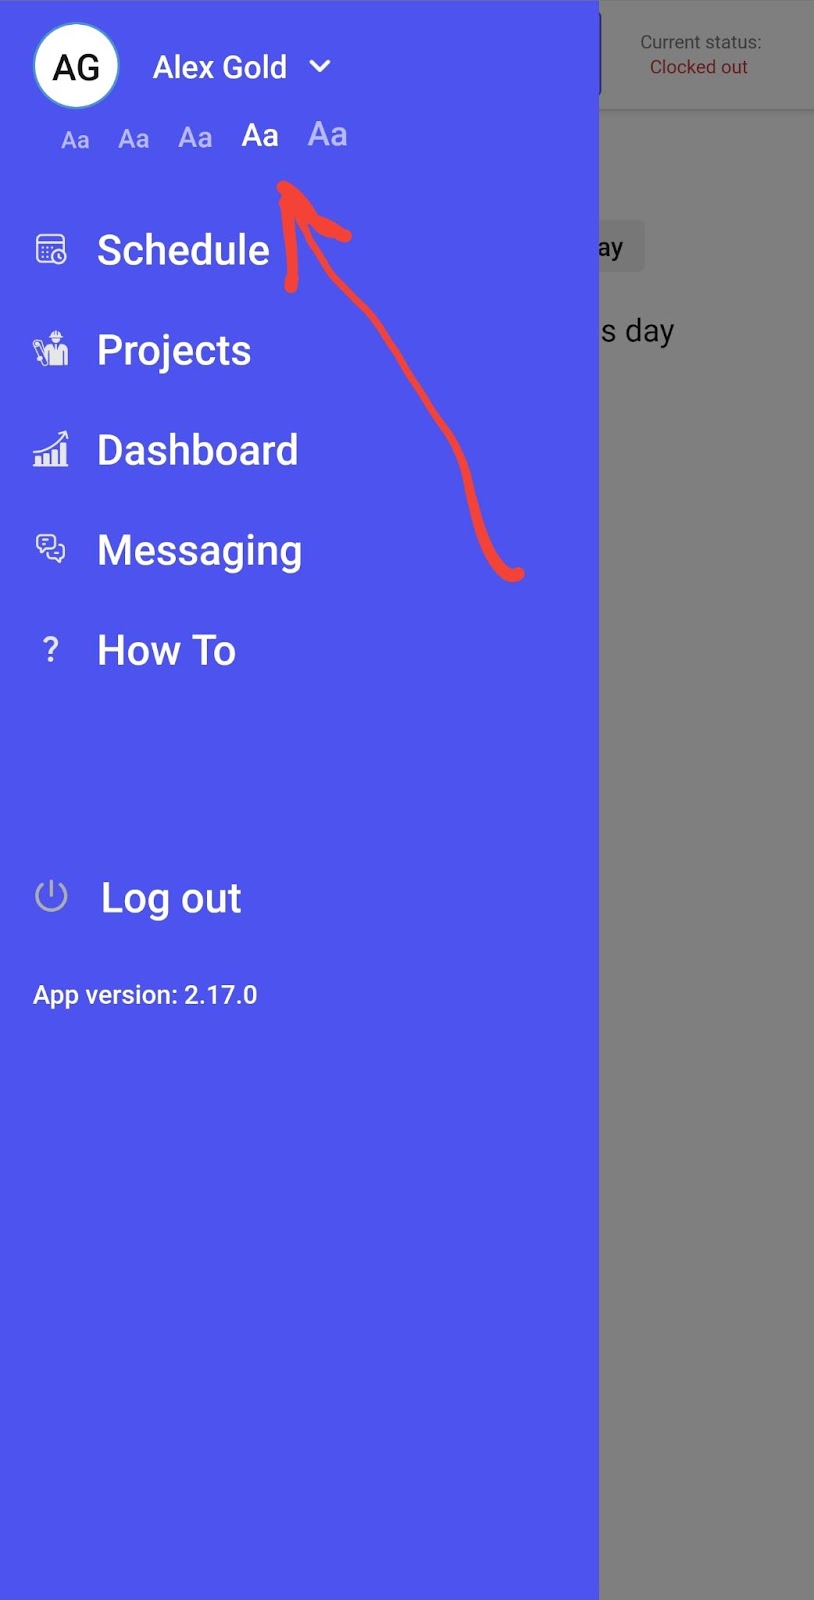
When you log in, click on the menu at the top left corner and you can adjust the font size:
Schedule
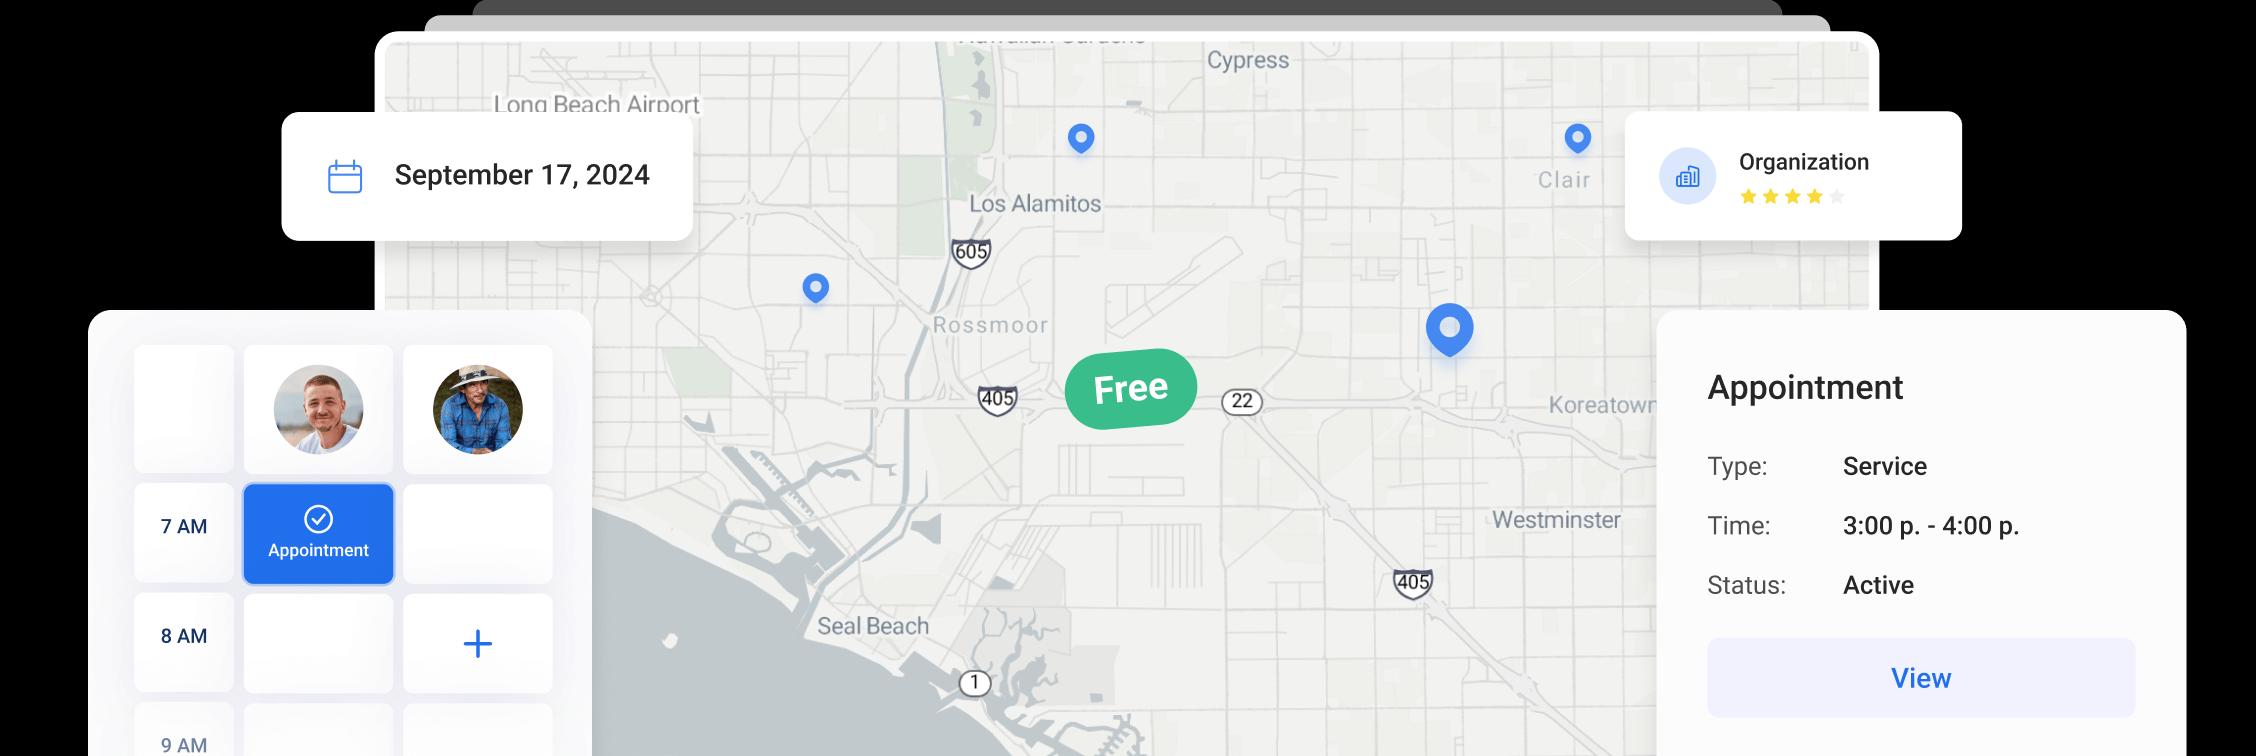
Please click on Schedule:

At the top, you can select the date by using the calendar or arrows.
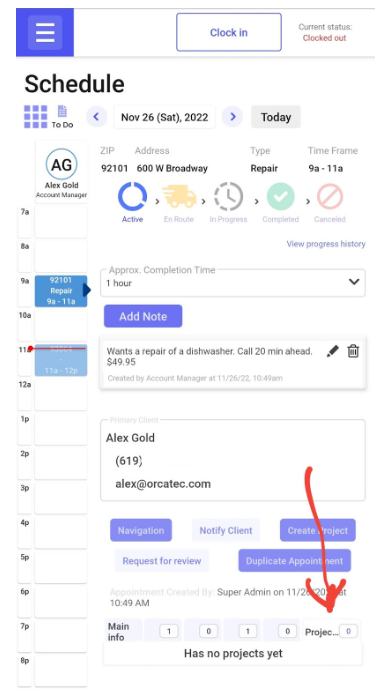
On the left you will see your appointments for the day. If you click on any appointment, you are able to see more information about the appointment.

At the top of the appointment view, you are able to change the status. When you are on your way, click En Route. The system will offer to send an email to your client with heads up. You are able to modify the message if needed or skip it.
When you arrive at the appointment, click In Progress.
When you will complete the repair or service, click Completed.
If your appointment gets canceled for some reason, click Canceled and specify the reason for cancellation.
If you click “Add Note”, you are able to add a note to this appointment. Your office will be able to see this note.
At the bottom, you are able to click “Show More Information”.
You will see several sections. The first one is the Main Info.
In this section you can view a full address, add property notes, see the map and add property tags.

In the second section you are able to see all clients that are attached to the address and you are able to add more clients if needed.

In the next section you can see all Organizations that are attached to the property.

Next is the history of all appointments for this property.

Next is the all Media that is attached to this property. This could be pictures, PDF or any other file. You are able to click Add New Media to attach more files.

The final section is the history of all Projects (Estimates, invoices or contracts).
You can click on any project to see the details.
Project Creation
To create an invoice, click Create Project.

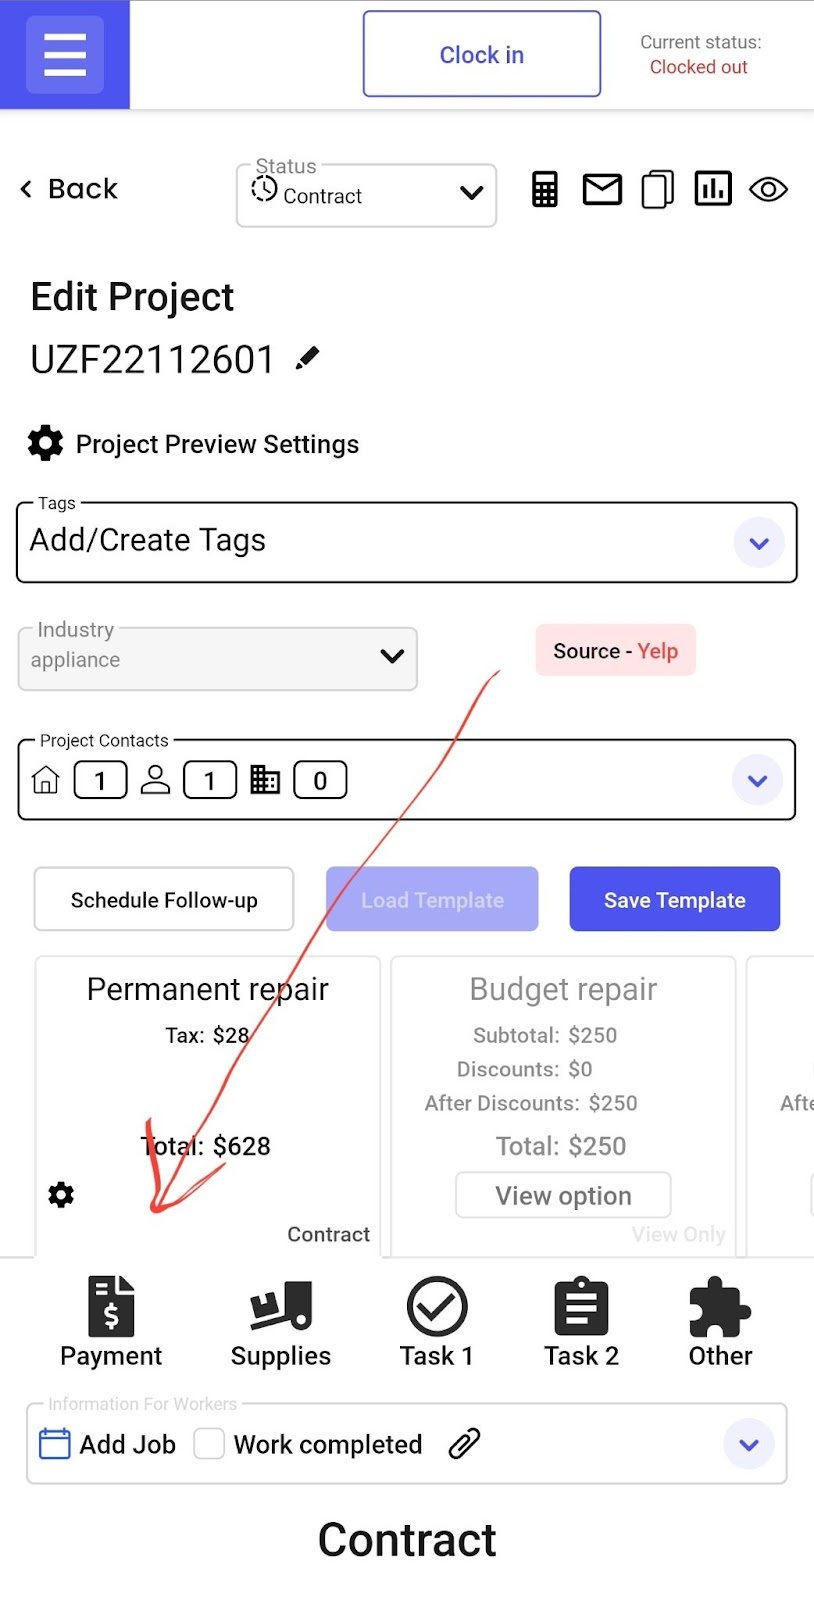
At the top, you will see a Status.
If the project is in Estimate status, you are able to modify or add anything to this project.
If the client accepts your Estimate, then the project goes to Contract status with limited editing capabilities. You are also able to change the status Manually.
If the client rejected the estimate, you can change it to Cold.
After all work has been completed and the money collected, you are able to change it to Completed.

At the top left, you can click on the Gear icon to modify project settings.

In most cases you will not need to do anything in this section as it will use default settings set by your admin. Please read carefully so you are aware of the system capabilities.

At the top right, you can find 5 icons:
1. Project Insights. Here you can record all expenses for this project.
2. You are able to email this project to your client.
3. You can duplicate this project if you want to offer another option to the same client. System will make a copy of this project with a new project name.
4. Client activity. You are able to see who and when viewed this project.
5. This is a customer view. You can see how your client will see it and you can use this view to present the estimate in the field.

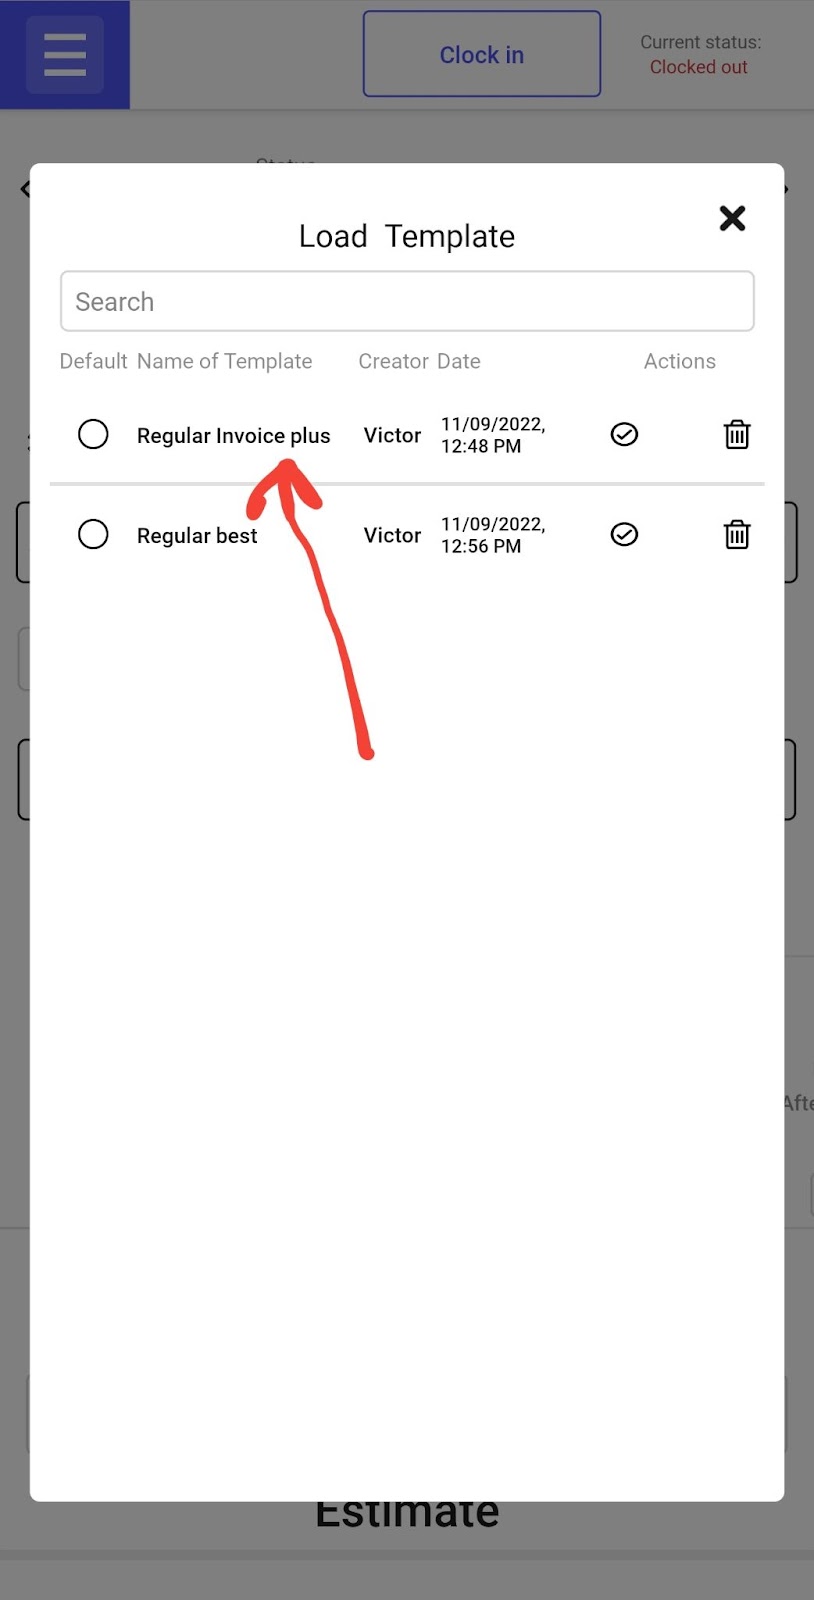
Click on Load Template to start with preset invoice template
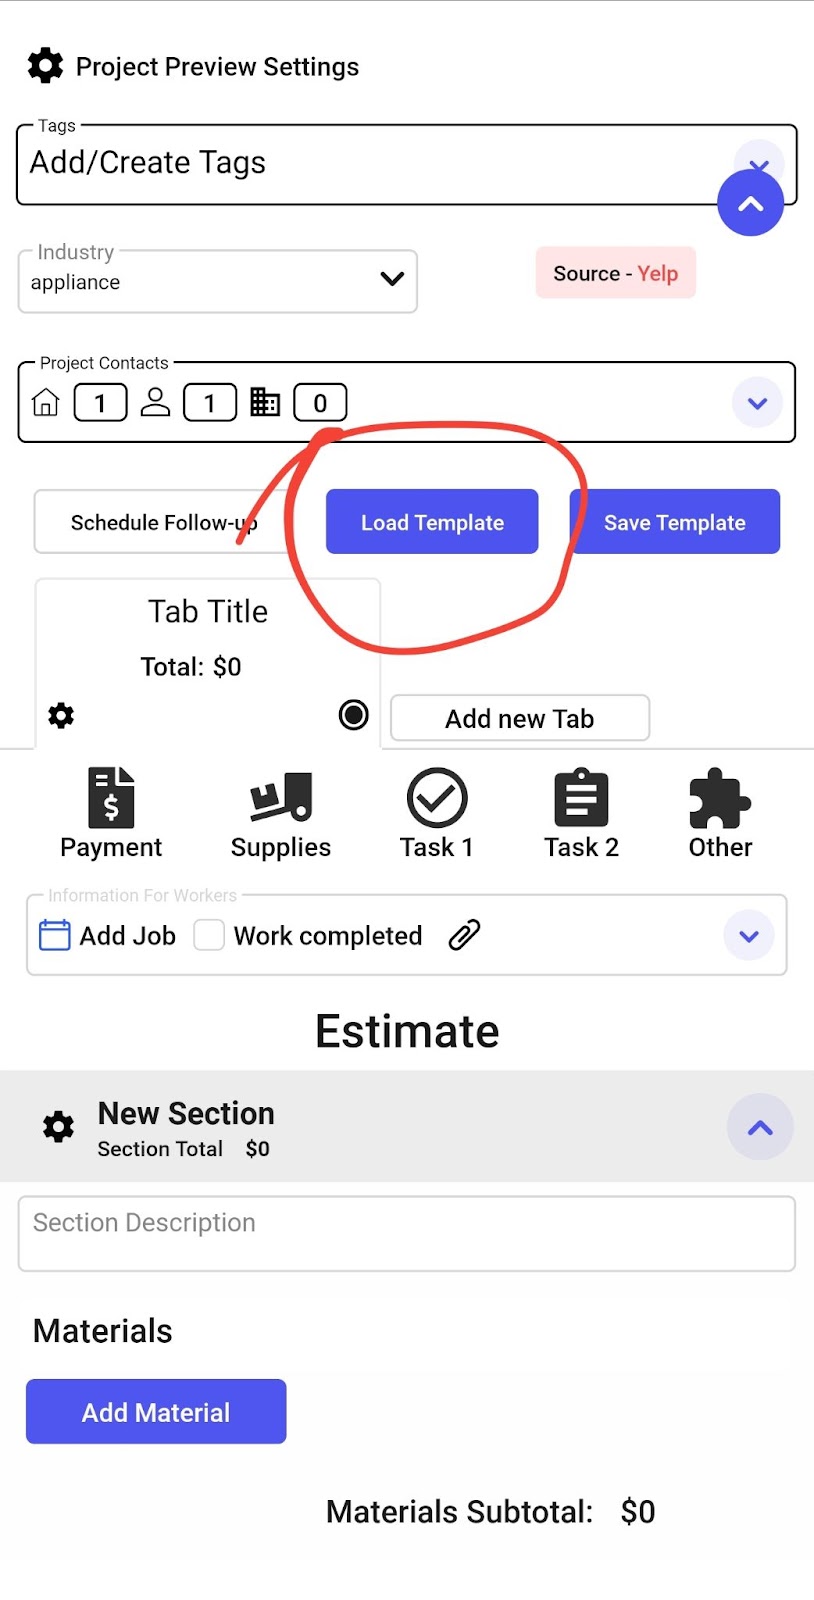
Select the template that you want to start with.
From this screen you are able to load, save, delete or select as Default. If default is selected, every time that you create a new project, this template will be used.
Please select the Default template for ease of use.
After the template is loaded, click on Options gear.

In this menu you are able to Rearrange the Options. Click Edit Tab Info to rename, add a description or a picture to this Option.
You are also able to duplicate or delete the option.
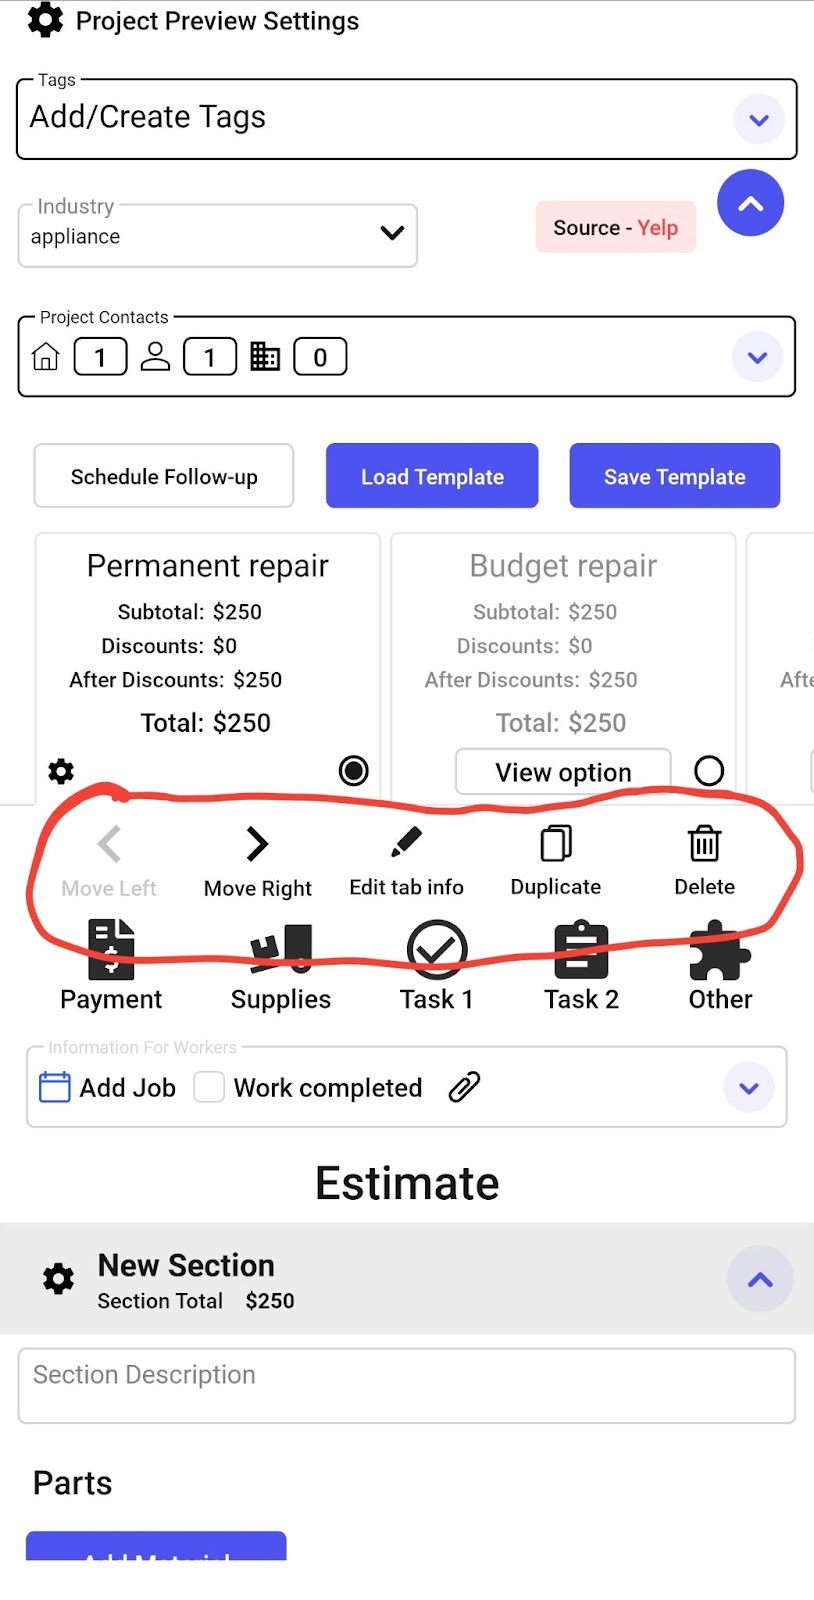
In this field you can type a brief description to this option if needed

You are able to switch between the options by clicking on it

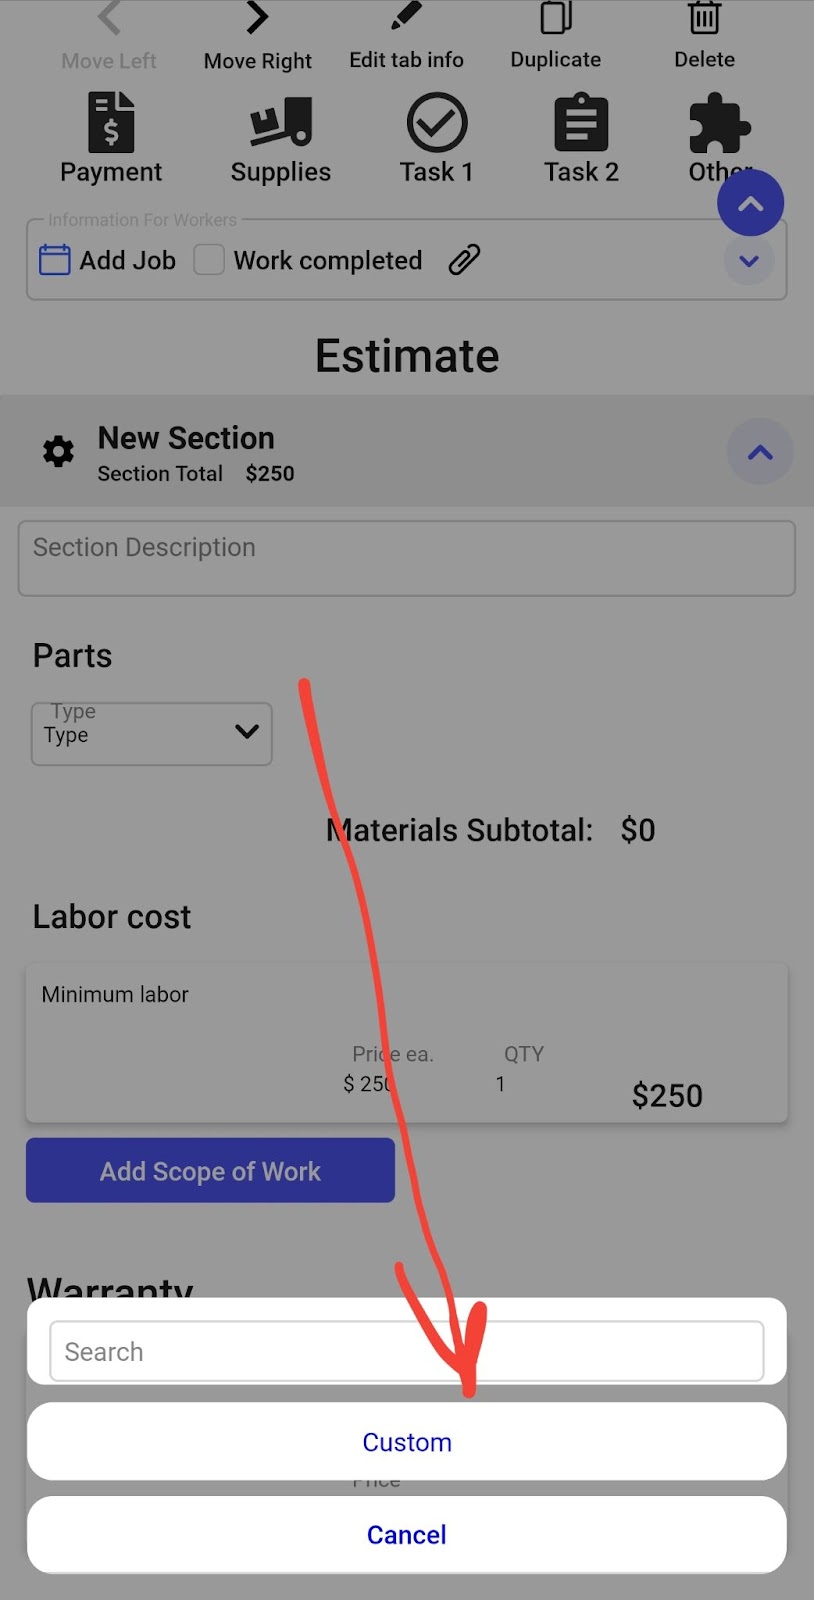
You are able to add parts, labor, warranty or discounts to the Invoice/Estimate

After clicking Add Materials, click Custom:
Enter the name, price and quantity.
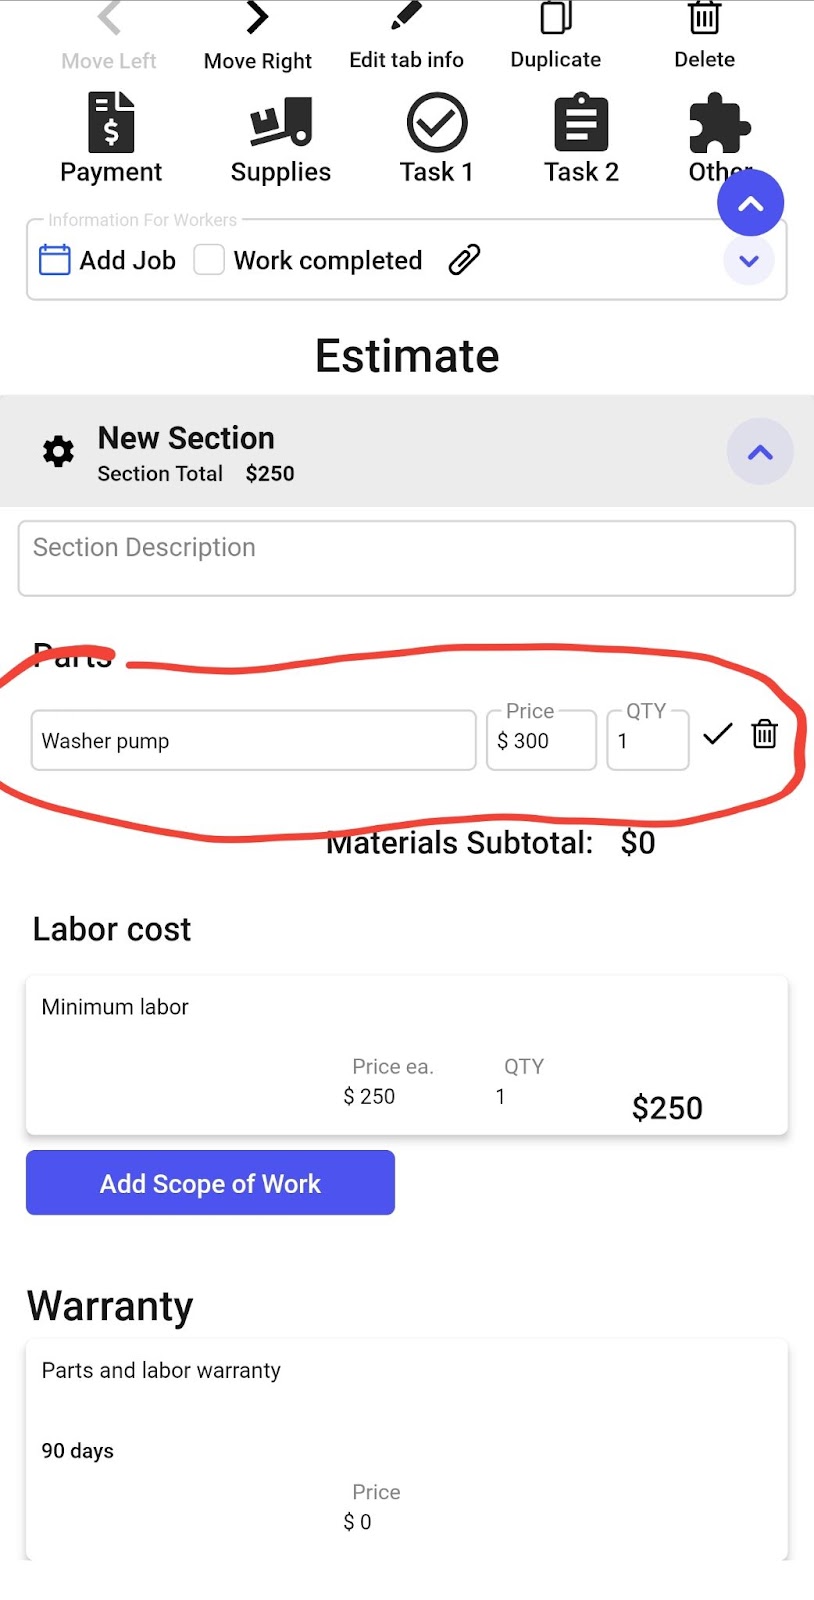
Then click the check mark to save:

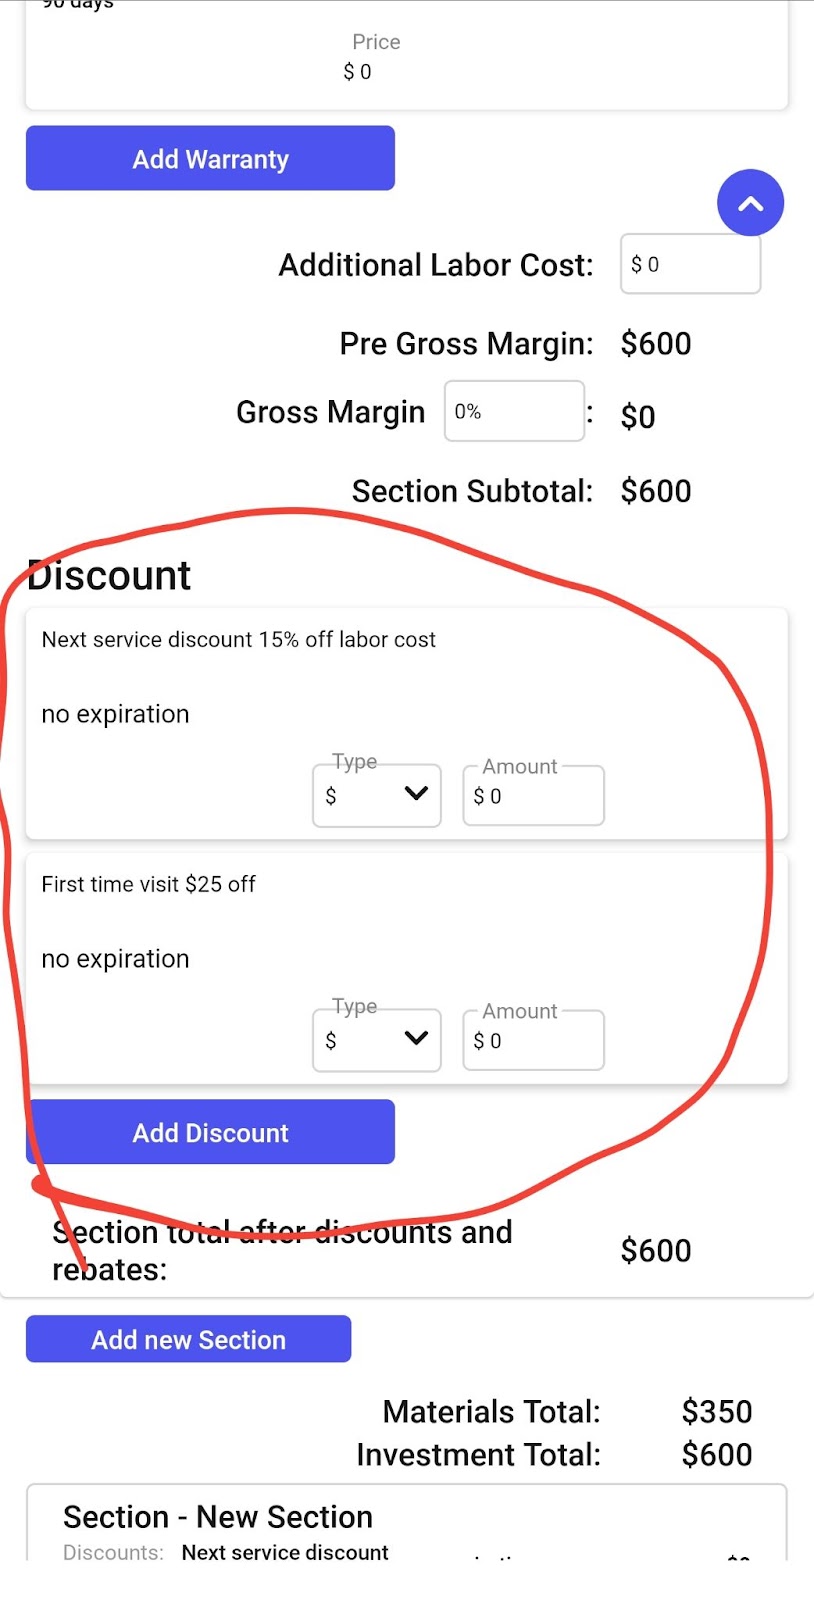
If you click on any existing Item, you are able to modify it, delete, rearrange or add item option:
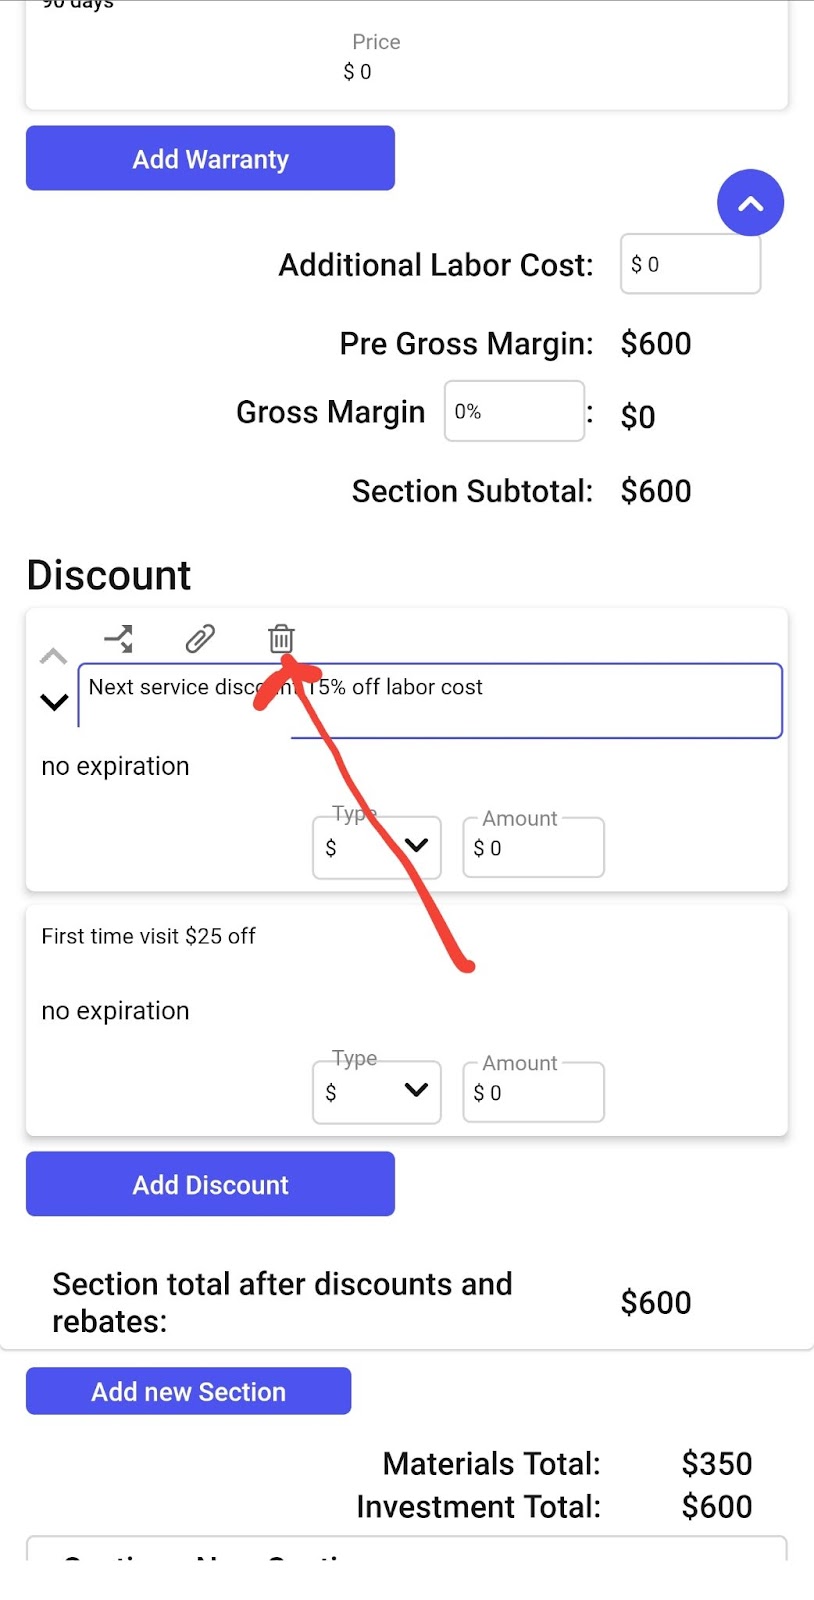
Please delete the discounts that are not relevant to your invoice:
At the bottom of the project you can add additional information for your client along with some pictures or documents:

After completing the Estimate, click on Customer View to verify that you have the desired look and price
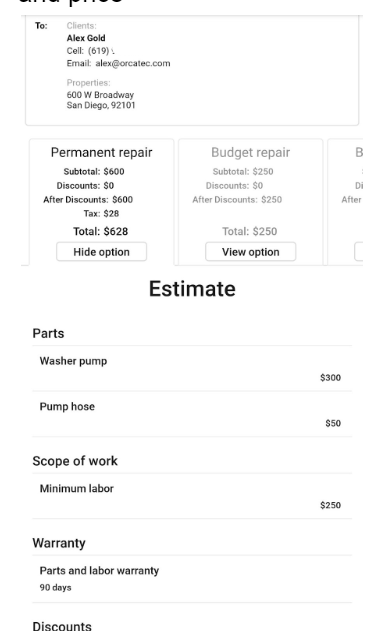
You are able to present this estimate to the client form your mobile device or you can email this project via a link or PDF:
You can select an email or a phone number (if Text messaging is enabled) to send this project.

You are also able to click Modify Email or Modify SMS to make changes.

After review, you client can Accept the Estimate:

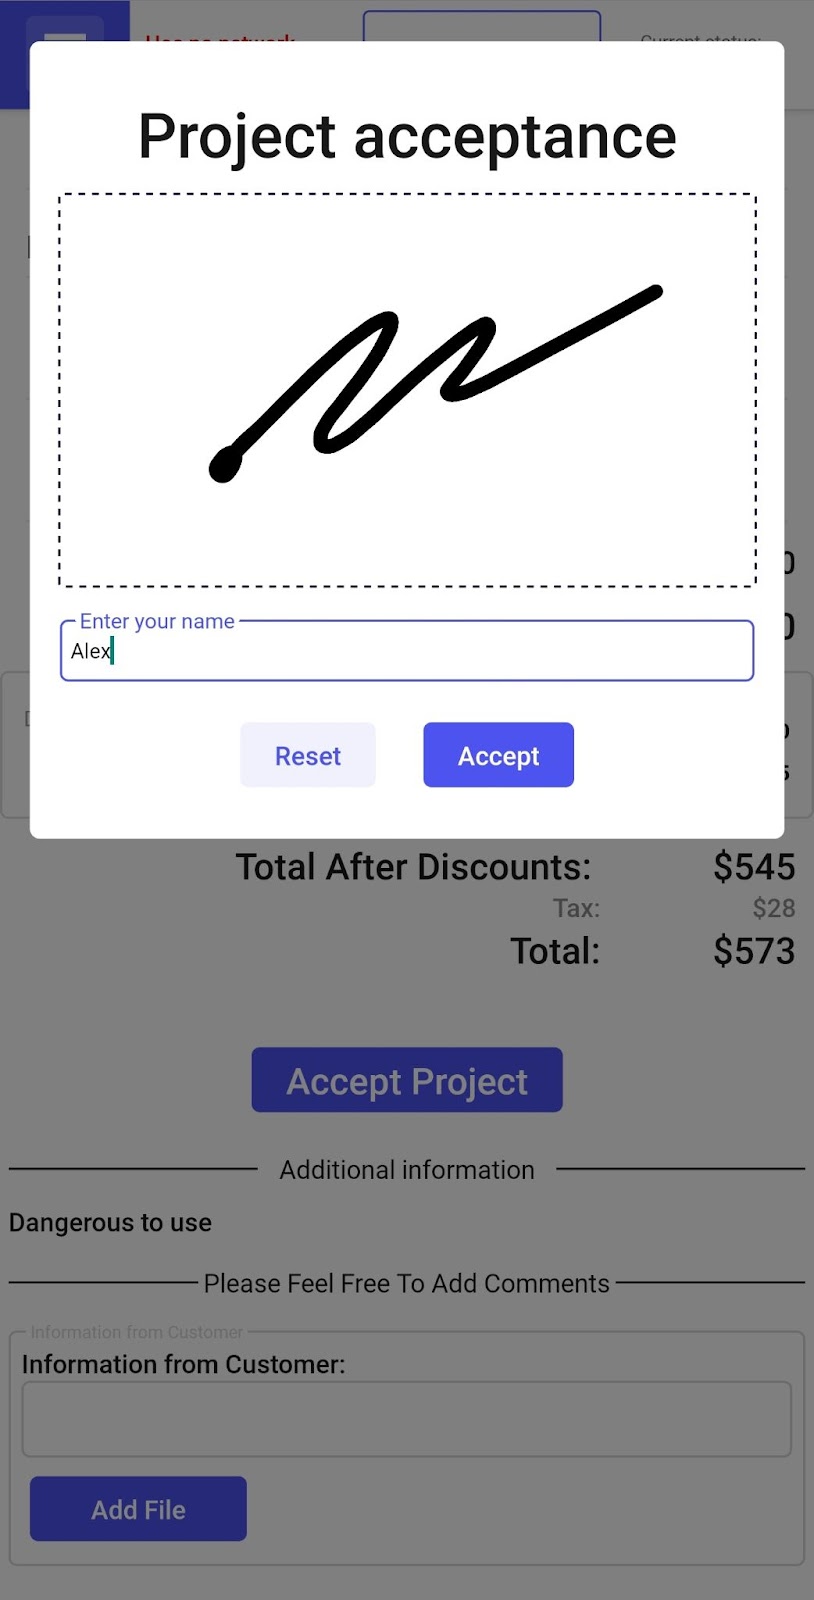
After acceptance, this project changes to Contract. You can click Edit Project to go back to edit view.

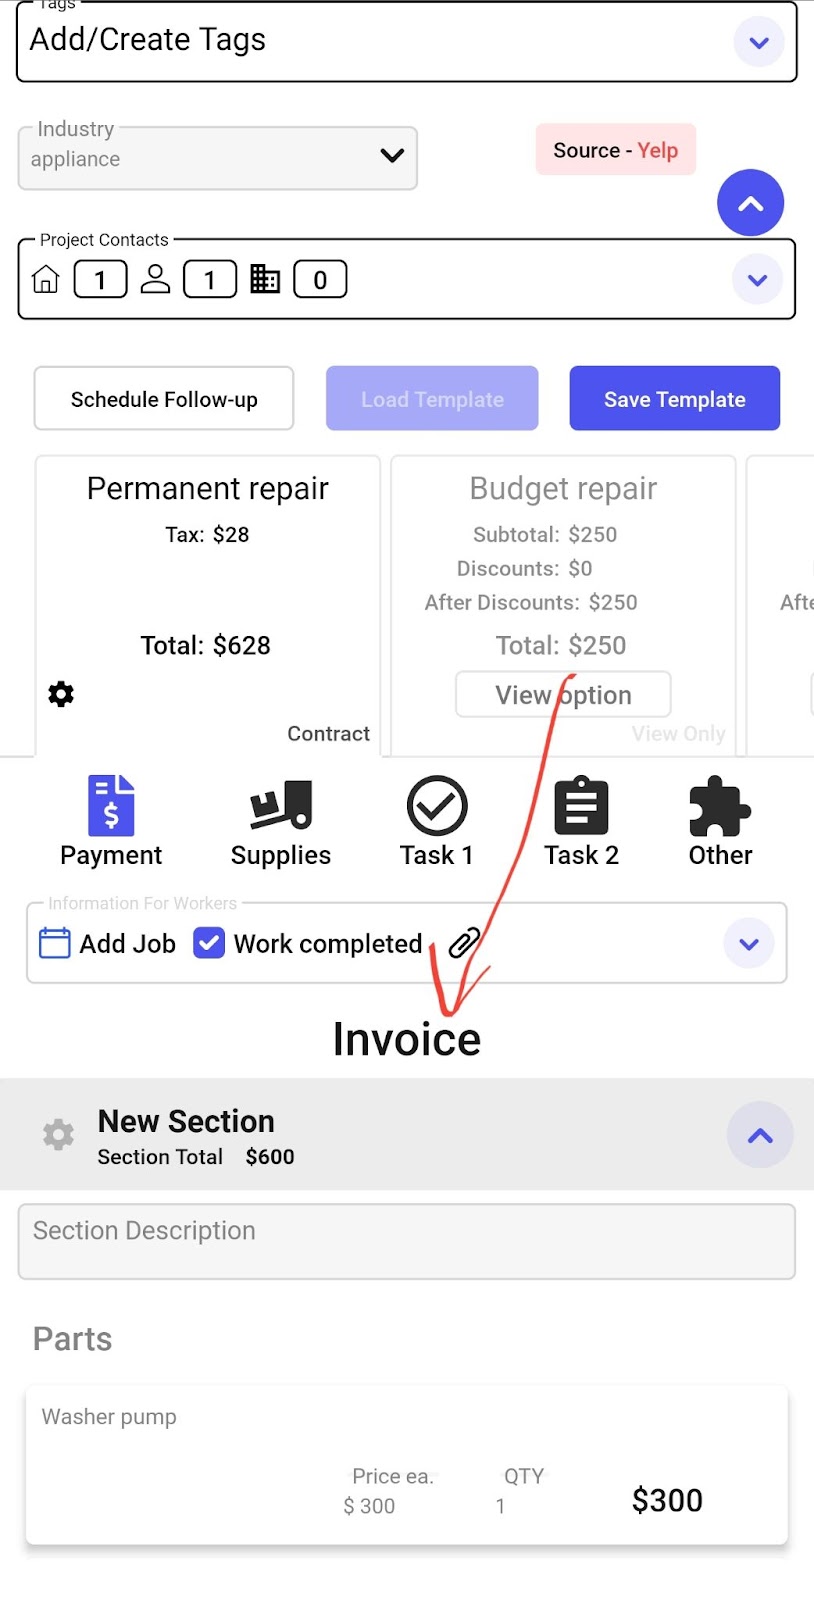
After you complete the repair, check the “Work Completed” box.

And your contract will turn to Invoice
Payment
Here you can click the Payment icon to modify the payment schedule.
If you click it once, the icon will change to blue and the system will create a full amount on the project as one balance.
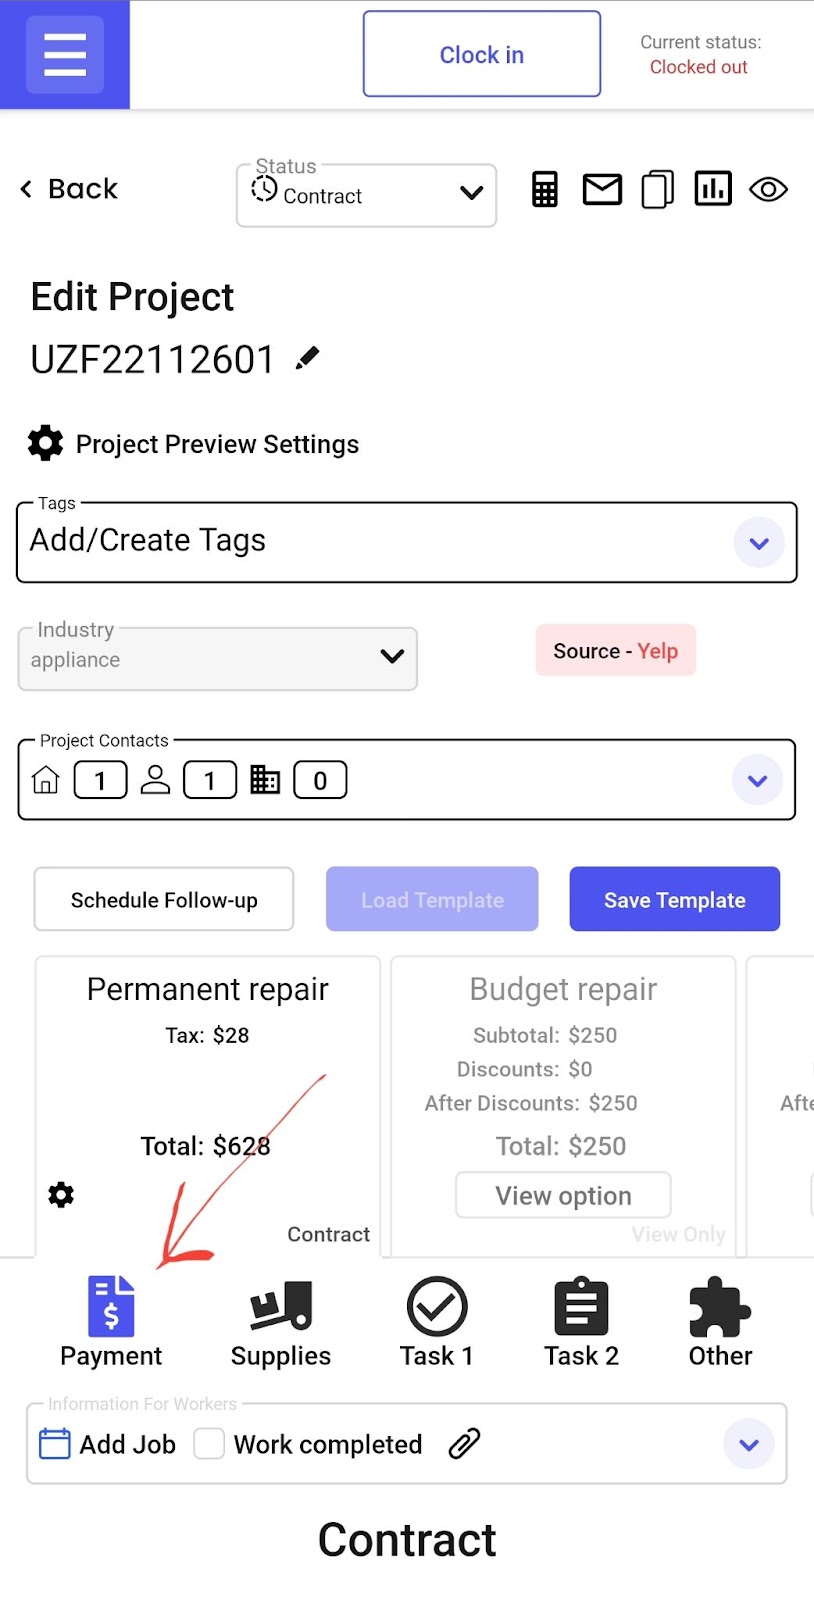
If you click it again, you are able to modify the payment schedule.
You can change the amount of the first payment to a lower amount and then you can add more balances if needed. You can change the Name of Balance to Deposit or 1-st payment or any custom value.
You are also able to change the Due Date of this payment.
If you are subscribed to our Payment Processing, you are able to allow your client to pay the balance with Credit Card or Check. If the card icon is blue then your client can pay with a card and same with the check.
If a customer gave you a payment manually, you are able to click on Status and change it to Paid. Select the payment method and add a payment description for your client to see. This could be “Check #1234” or “Paid with card #**********4620”

After all balances had been paid, the Payment icon will turn green and the Project will display Receipt

You don't have to email this project to your client as it will be the same link.
This is dynamic Invoice and unless you are emailing the PDF, your client will see the changes live.
Other Articles
Getting Started with Orcatec: Complete Onboarding Guide for Contractors and Subcontractors
A step-by-step onboarding guide to help you set up your Orcatec account, create projects, link contacts and properties, manage payment schedules, and generate invoices — everything you need to get started smoothly.
7 min read Nov 13, 2025
How to Schedule Multiple Visits at Once
Scheduling is now easier! You can create multiple visits as a group within projects, work orders, and on dispatch, saving you time and effort.
3 min read Oct 09, 2024
Share job details via public links
Make collaboration and communication easier by sharing job details via public links, ultimately leading to more efficient project delivery and better outcomes for everyone involved.
7 min read Feb 27, 2024
All-In-One Home Services Management Software
4.95 from 5 based on 17 reviews
Get our latest news