The Dispatch Tab in Orcatec: A Complete Beginner's Guide
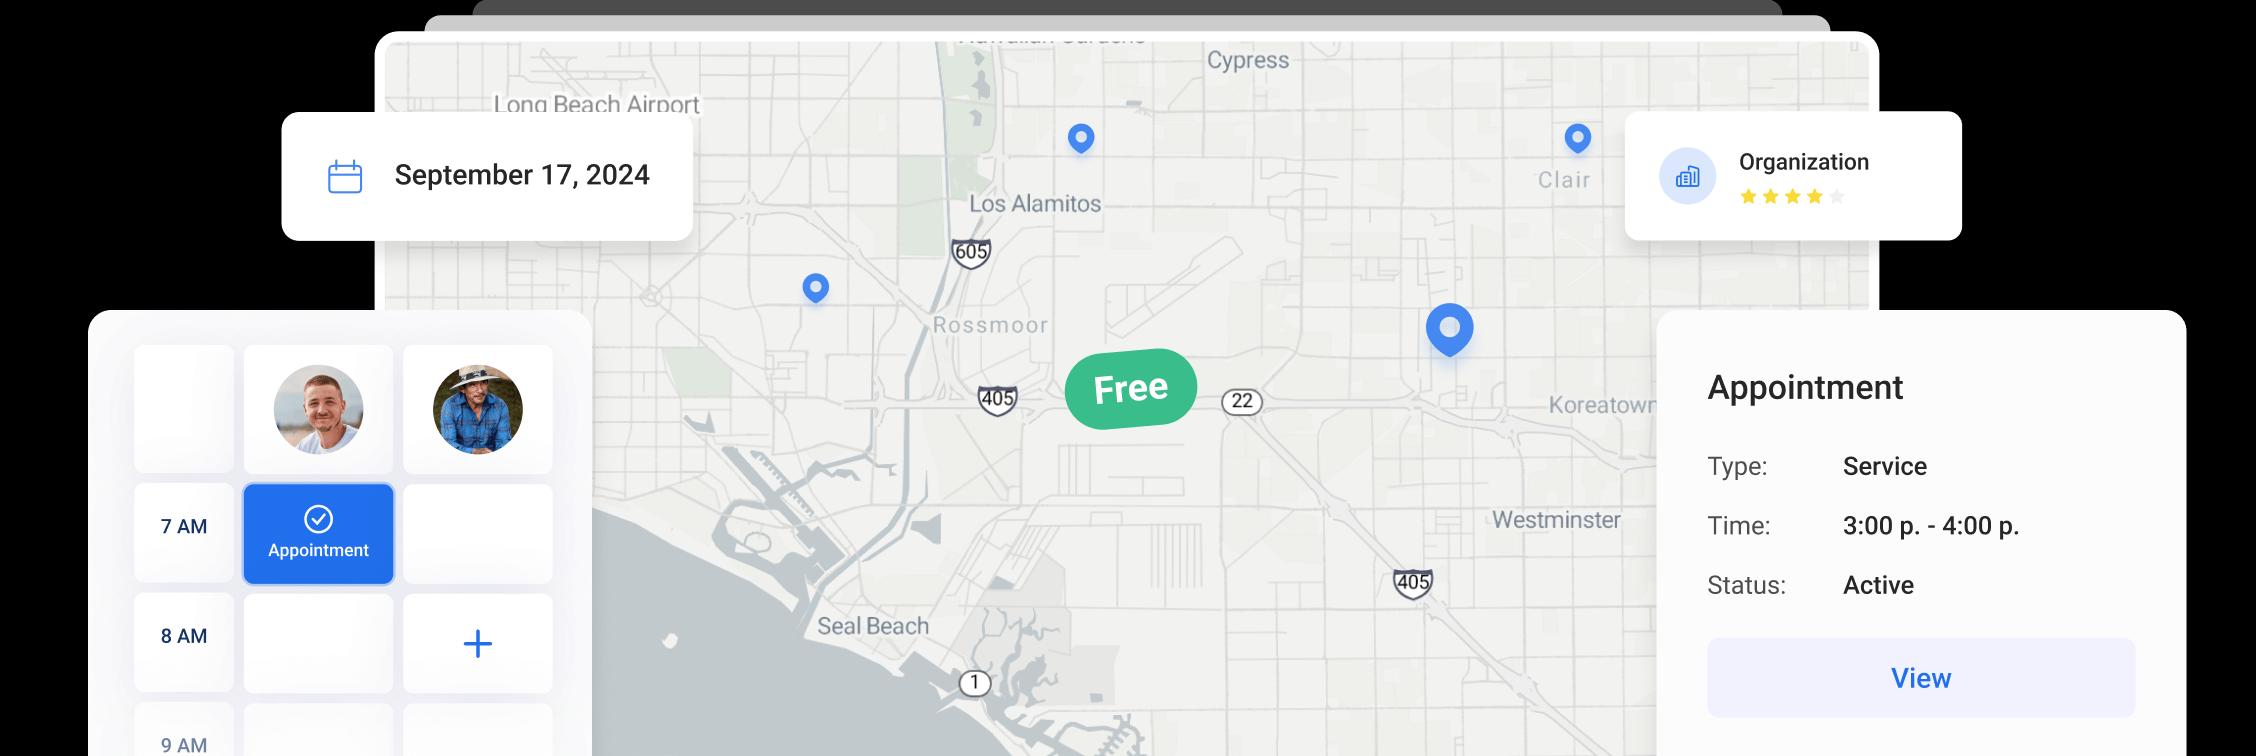
The Dispatch tab is where a list of jobs turns into an actual day for your team. This is the scheduling board of your Orcatec account — you look at who is free, drag or click a time slot, and assign a visit to a technician. Anything that still needs a time and a tech waits in a queue on the right until you place it.
This guide walks a brand-new dispatcher through the Day and Week boards, the two ways to create an appointment, the Appt Queue, opening and reading a visit card, and customizing how your board looks.
ON THIS PAGE
Sections marked Advanced go deeper than a first day on Dispatch needs — skip them for now and come back once you're comfortable moving appointments around.
Two boards: Day view and Week view
Dispatch opens in Day view: one column per technician (or per team, see below), and rows running down the page by hour. This is where the actual dispatching happens — you can see exactly who is busy and who is free at any hour of the selected day. A thin red line marks the current time, so you always know where "now" is on the board.
Week view flips the layout: each column is a day of the week instead of a technician, and every appointment for every tech shows up on the same board. It's the fastest way to see how the whole week is shaping up, or to spot a day with nothing scheduled yet.

The date controls at the top — the arrows, the Today button, and the calendar icon — move you through the calendar. Search by column title, tech name, appointment title, or description using the search bar on the left, and toggle Show empty columns if you'd rather hide technicians with nothing scheduled that day.
Tip: use Day view when you're actively placing visits on the schedule, and switch to Week view when you want a bird's-eye check of the whole team's week before Monday morning.
Columns: your team on the board
Every column in Day view represents either one technician or a custom "team" grouping you set up yourself — a column doesn't have to map one-to-one to a single person. Each column header shows the tech's photo, name, and role (President, Manager, Sales, Tech, QA, and so on).
Hover a column header and a small wrench icon appears in the top-right corner of that header — click it to open Column Settings, where you control what the column is called and who shows up under it:
- Move your mouse over any column header in Day view.
- A small wrench icon appears in the corner of that header.
- Click the wrench icon to open the Column Settings panel shown below.
| Field | What it does |
|---|---|
| Column Name | The label shown at the top of the column (for example, "Team 1" for a crew rather than one person). |
| Column Identifier | A short abbreviation (up to 4 characters) shown in the column's icon. |
| Column Color | The accent color used for that column. |
| Assigned / Unassigned users | Which users appear under this column. Move a user between the two lists to add or remove them. |
| Only for [this date] / For today and future dates | Whether your change applies to just the day you're looking at, or becomes the new default going forward. |

Note: a column can have one "main" assigned user (marked with a star) and additional users sharing the same slot — useful for a two-person install crew that should be dispatched as a single unit.
Scheduling an appointment: the quick way and the full way
There are two ways to put a visit on the board.
The quick way: click any empty cell on the grid, under the technician and at the time you want. A draft time block appears immediately (defaulting to a set length); click it again and a small New appointment card pops up showing the date, time, and column. Press Enter (or click Create appointment) to confirm, or Esc (or Discard) to cancel.

The full way: click + Create Appointment in the top-left corner for the complete form, with every field available up front:
| Field | What it does |
|---|---|
| Industry | Required. Determines which fields and defaults apply to the appointment. |
| Appointment Date & Promised arrival time | The scheduled date, plus an optional arrival window (two times) you can promise the client. |
| Repeat options | Leave as "Does not repeat," or turn this into a recurring appointment. |
| Assigned to | Required. Pick a specific technician to put the visit straight on the board, or leave it set to Appt Queue to park it for later (see below). |
| Appointment Notes & attachment | Free-text notes for whoever works the visit, plus a paperclip for attaching a file. |
| Tags | Labels like "Emergency" or "First call" that show up as colored chips on the visit card. |
| Appointment Property | Either "Use office location" or search for a specific address for the visit. |

Note: the quick way is faster once you already know who's doing the job. The full form is the better choice when a call comes in and you don't yet know who will take it — leave "Assigned to" on Appt Queue and dispatch it once someone's available.
The Appt Queue: appointments waiting to be scheduled
Not every appointment needs a tech and a time slot the moment it's created. The Queues panel on the right side of Dispatch holds everything that's still waiting to be placed on the board:
| Queue | What lands here |
|---|---|
| Appt Queue | Any appointment created with "Assigned to" left on Appt Queue instead of a specific tech. |
| Recurring Appointments | Visits generated by a repeating schedule, waiting for their next occurrence to be confirmed. |
| Leads | Inbound leads that haven't been converted into a scheduled visit yet. |
| Leads from Google | Leads that came in specifically through a connected Google integration, if your company has one set up. |

Each queue card shows the client, job type, and requested time window. To dispatch one, drag the card from the queue onto the tech's column and time slot on the board — the number badge next to each queue name tells you at a glance how many jobs are still waiting.
Where leads and recurring appointments come from Advanced
Leads and Leads from Google are typically fed by whatever intake sources your company has connected to Orcatec — this varies from business to business and depends entirely on how your account is set up. Recurring Appointments come from any appointment created with a Repeat option other than "Does not repeat" — each future occurrence appears in this queue until it's confirmed and placed on a specific day.
Opening a visit card
Click any card already on the board and a popover opens with everything about that visit: status, scheduled date and time, address, contact name and phone, the linked project number (click it to jump straight to the project), notes, and colored chips for Type, Source, and Tags.

Four icons sit at the top of the popover:
| Icon | What it does |
|---|---|
| Share | Share the visit. |
| Duplicate | Create a copy of this appointment. |
| Edit (pencil) | Open the full edit form for this visit. |
| Delete (trash) | Remove the appointment from the board. |
Note: the color of a card on the board usually matches its Type — a quick visual way to tell an Estimate from a Repair or a Service call without opening every card.
Customizing your board Advanced
View settings: card layout and text size
The View button (top-right, next to the zoom and filter icons) opens View settings, which controls how much information each card shows and how it's ordered:
| Setting | What it does |
|---|---|
| Start from | Choose whether a card leads with Location, Customer, or Time first. |
| Location / Customer name / Event type / Time | Drag to reorder these lines, or untick one to hide it. Short appointments only show as many lines as fit. |
| Event text | Five text sizes. Smaller fits more detail onto short appointments; larger is easier to read at a glance. This only affects cards on the board — menus and the rest of the page stay the same size. |

Zoom, filter, and grid/list toggle
The magnifying-glass icons zoom the row height in and out (with a reset button between them) so you can fit more hours on screen or spread them out for a packed day. The grid/list icon next to them switches between the standard grid board and a compact row layout. The funnel icon toggles a filter row so you can narrow the board down by specific criteria before you start dispatching.
List view and Time Off
List view (labeled "Events List") drops the calendar grid entirely in favor of a sortable, filterable spreadsheet of every appointment: Status, ID, ZIP, Client Name, Arrival Time, Date of an appointment, Date created, Date deleted, Type, Source, and Notes. It's the fastest way to search across many days at once, or to export appointment data in bulk.
Time Off list is a similar spreadsheet, but for time off: Name, Type, Start Date, End Date, Reason, and Notes. Use the Add Time Off button (also available from the main toolbar) to block time on a tech's column:
| Field | What it does |
|---|---|
| Time Off / Vacation | Two tabs for the two kinds of time off. |
| Select Employee | Who the time off applies to. |
| Start Date & Time / End Date & Time | When it begins and ends. |
| Reason for Time Off | Required. A short reason (shown on the Time Off list). |
| Additional Notes | Optional free-text notes. |
Note: time a tech has booked off appears on their column in Day view, so you won't accidentally double-book someone who's already out.
Frequently asked questions
What's the difference between a column and a technician?
A column is just how a slot is displayed on the board. Most columns represent one technician, but you can rename a column and assign more than one user to it — useful for a two-person crew you always dispatch together.
Why did my new appointment disappear from the board?
If "Assigned to" was left on Appt Queue instead of a specific technician, the appointment isn't missing — it's waiting in the Queues panel on the right until it's dispatched to a tech and a time slot.
What's the difference between Day view and Week view?
Day view shows one technician per column for a single day, which is where you actually place appointments. Week view shows one day per column across the whole team, which is better for a quick check of the week ahead.
Where do Leads and Leads from Google come from?
They're fed automatically from whatever intake sources your company has connected to Orcatec. Exactly which sources feed leads depends on your own account setup, so this can look different from one business to the next. They land in their own queue until you convert them into a scheduled visit.
Does Time Off block a tech's column automatically?
Yes. Once time off is added for a technician, it shows on their column in Day view for the dates it covers, so you can see at a glance who isn't available.
Can I change what a card shows without asking every dispatcher to do it themselves?
View settings (card layout and text size) are controlled from the View button on the board itself. If you want the same layout for your whole team, walk each dispatcher through setting it up once — there isn't a separate company-wide default described in this guide.
Checklist for your first day of dispatching
- Open Dispatch and confirm you're looking at today in Day view.
- Check the Queues panel for anything already waiting in the Appt Queue, Leads, or Leads from Google.
- Schedule a visit the quick way (click an empty cell) or the full way (+ Create Appointment) — whichever fits what you know about the job.
- Set the right Industry, and set "Assigned to" to a specific tech once you know who's taking the job.
- Open the visit card to double-check the address, contact, notes, and tags before the tech heads out.
- Rename or recolor a column under Column Settings if a tech's name or team grouping needs updating.
- Switch to Week view to see how the rest of the week is filling up.
- Add Time Off for any tech who won't be working, so they don't get double-booked.
- Use List view if you need to search or review appointments across more than one day at a time.
Other Articles
Products and Services (Price Book) in Orcatec: A Complete Beginner's Guide
Your price book is the list of parts, equipment and services your team adds to every estimate. This guide covers each field of a new item, how the Gross margin field really calculates, safe bulk edits and discounts and rebates.
9 min read Sep 28, 2026
Properties in Orcatec: A Complete Beginner's Guide
A property is the address where the work happens. This guide walks you through the Properties list, adding a new address and every tab of a property record, plus a 60-second check to run before each visit.
7 min read Sep 28, 2026
Contacts in Orcatec: A Complete Beginner's Guide
The Contacts tab is Orcatec's address book for every person and company your team talks to — homeowners, property managers, tenants, and the organizations behind them. This guide walks a brand-new user through the contact list, adding a new contact, and every tab inside the Edit Client window: Personal Info, Properties, Appointments, Projects, Organizations, Associations, Messaging, and Calls.
8 min read Sep 15, 2026
All-In-One Home Services Management Software


4.95 from 5 based on 17 reviews
Get our latest news